The loop element is a powerful tool that can display a wide range of content on your website. Whether you want to showcase menu items, posts, pages, or content from other sources, the loop element can easily handle it all. By adjusting your filtering settings, you have the flexibility to curate exactly what you want to display, making it a versatile feature for customizing your site’s layout and content.
Loop type
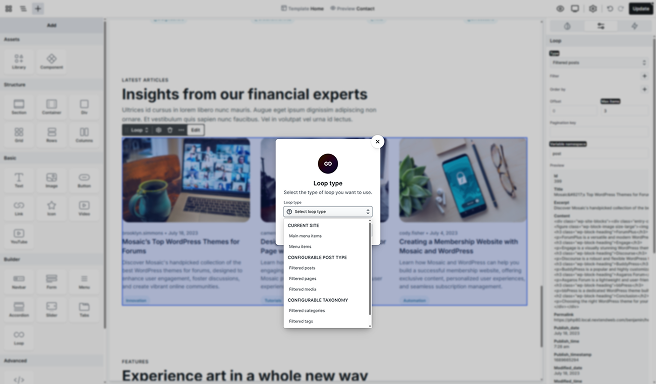
When adding a loop element to the Canvas, you can choose from three different types of loop structures. Selecting the appropriate type will ensure that your loop elements are optimally configured for your specific use case.
Modifying loop type
If you change the Loop type after the loop has already been created, remember to update its variable as well.
Each loop type pulls in different kinds of data (like text, images, or custom fields), so the variable must match the new type for the content to display correctly.
This step is especially important for the Loop tabs element, as it doesn’t have a selector by default. It starts as Filtered posts, and if you want it to display something else, you’ll need to manually change the variable to match the new loop type.
Current site
The Current site loop type provides ready-to-use content structures based on the selected template type. For example, when editing a homepage, you can easily add menu items using this option.
Current site loops have limited customization capabilities, offering only basic settings.
Configurable
The Configurable Post and Taxonomy loop types offer greater flexibility, allowing you to define the loop’s behavior, conditions, and iterations to meet your specific requirements. On the homepage, you can choose from several loop sources, such as posts, pages, media, categories, tags, and formats. These types support full customization through the Settings tab, enabling you to tailor the loop precisely to your needs.
Structure
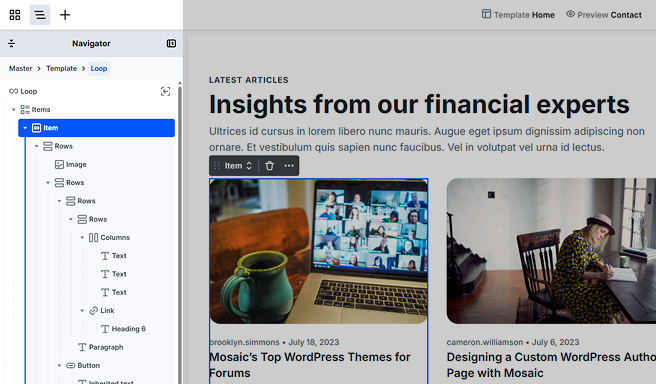
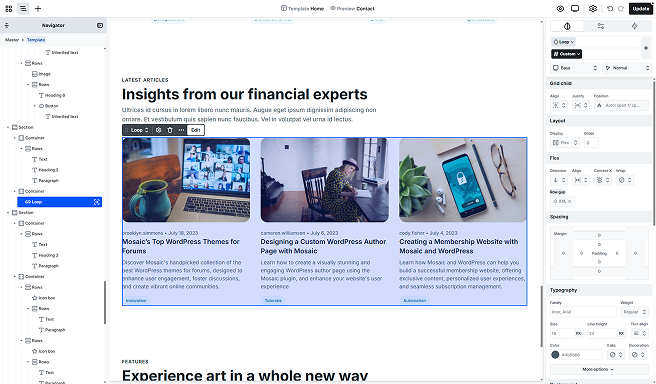
By default, the Loop is made up of three main elements.
Items
It’s a container for your items, helping you organize and display them. You can change its layout and style settings in the Style tab.
Inside the Items, you’ll find the Item element. You can customize it by adding other elements to it and adjusting their settings in the Style tab. Once you’ve manually added elements, use dynamic content to keep everything updated automatically.
This Item will serve as the template that populates all items in your loop. Any style changes you make to it will apply to all consecutive items.
Styling
In its Settings tab settings, you can control how a loop item behaves in relation to other items in the loop structure.

- Item: The new loop item is added without any automatic positioning based on matching rules.
- Static – Insert before match: The item will be inserted in a fixed position before a specific matching item in the loop based on a condition.
- Static – Insert after match: The item will be inserted in a fixed position after a specific matching item.
- Static – Separator: This item works as a fixed divider between each loop item and can be styled independently.
Pagination
It includes Previous and Next buttons, and Numbers for page indicators. By default, the Current site loop does not have pagination, but you can add it using the Add panel. You can choose to add the whole pagination setup or just the individual parts you need.
If there aren’t enough items, pagination won’t show up.
You can style your pagination buttons like any other buttons. If you prefer, you can change the default arrow icons to something else or remove them altogether.
Pagination usually appears at the bottom of your loop elements. If you have a lot of items on one page, you might want to add or duplicate the pagination at the top for easier navigation.
Styling
In the Style panel’s Settings tab, additional options are available for the pagination.
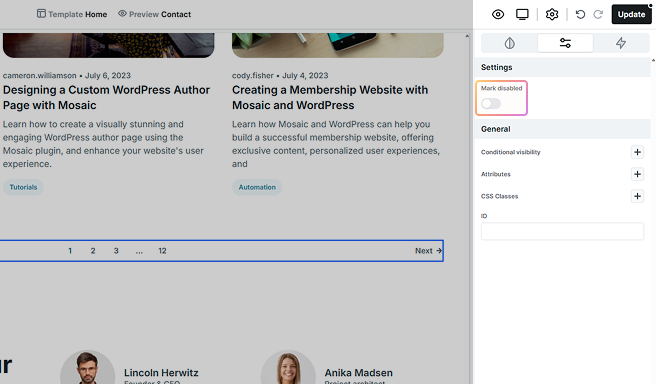
- Mark disabled: Controls how pagination behaves when there are fewer items than the set limit (e.g., showing only 3 items when the limit is 6). This doesn’t hide the pagination, but it lets you choose whether to disable the entire pagination or just the individual buttons.
No result
The No result element appears when there’s nothing to show. By default, it’s empty, but you can customize it with text, images, or any other content to let users know there’s nothing available.
Toolbar actions
To access the loop settings, simply click the settings icon in the toolbar. This will take you to the Settings tab, where you can easily modify the Loop element’s settings.
Settings tab
Type
This dropdown lets you choose the source of the loop element, such as menu items, posts, pages, categories, etc.
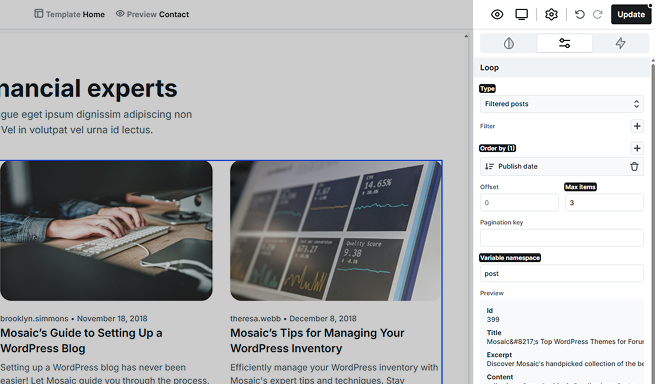
Filter
You can filter out which posts, menu items, etc., you would like to receive. Only the items that match one or more of your filters will be displayed. For example, by selecting a specific category, you’ll receive posts from that category.
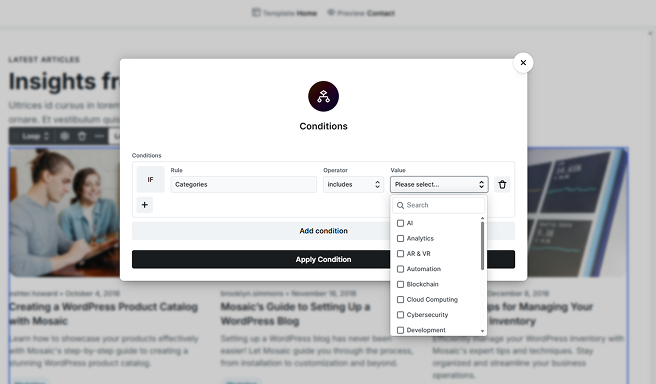
Additionally, you can utilize metadata associated with each post to apply further conditions. You can create as many filters as you’d like. Adding a new condition with the + icon combines it with the existing one using an AND operator, while adding a condition with the Add condition button creates a new condition group combined with an OR operator. If you need to remove a filter, use the 🗑️ icon next to the filter you wish to delete.
Example
If you want to hide the blog post that’s currently displayed and show some alternative options, you can do this by applying the following filter:
- Set the Rule to Post.
- Choose excludes in the Operator.
- In the Value field, select the blog post that’s currently displayed.
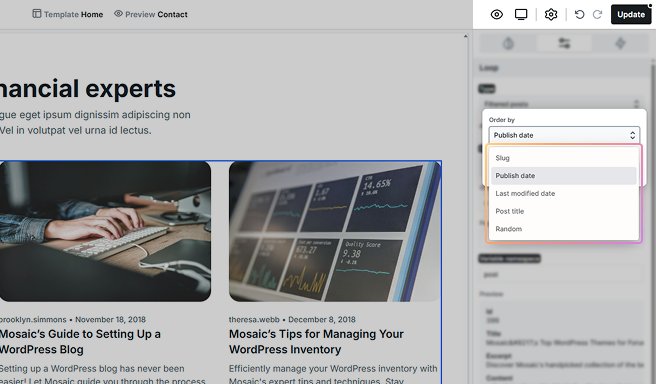
Order by
Posts and pages can be arranged in the selected order, either in ascending or descending order.
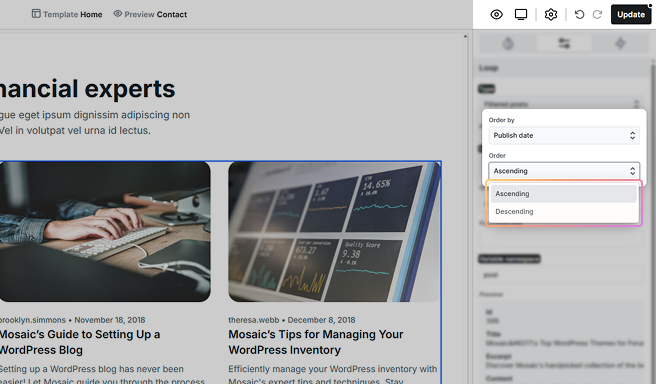
You can also customize the sorting criteria, such as by title, date, or other attributes, to fit your needs.
For example, use Date + Descending to display your latest posts/pages.
Records per page
This Records per page value defines how many records will appear on one page. The loop element can contain any number of records, and these records are arranged into separate pages, where you can switch with the paginator or with arrows.
Offset
Set the starting value for your list. The filtered records don’t have to start from the first index, but you can define any offset value to control where the results start. For example, you can create a loop element to show the latest post (offset=0) while creating another loop element elsewhere to display the post before the latest (offset=1).
Namespace
This is the identifier for the current loop element. There could be complex use cases where you would like to display a loop element inside another loop element. To be able to identify which element’s variable you want to select, a unique identifier is needed.
If you change the namespace of the loop element, you need to reselect all used variables inside it.
Pagination key
Switching between loop element pages is like going from one page to another. In these cases, in your browser, the URL of the page changes by getting a parameter. By default, we are using a randomly generated key:
- https://example.com/?e1e678b6-dbb=2
This doesn’t look so nice, so we are offering the Pagination key option to let you define another key name:
- https://example.com/?latest_posts=2
Update loop items
To update your loop items, go to your WordPress dashboard. Find the content you want to update, make your changes, and once saved, those updates will automatically show in the loop.
Be sure that the content is set as dynamic within the loop to ensure everything works correctly.
Additional states
The Loop and its elements include additional states, accessible through the state selector. For more information on how states work, refer to the Class system documentation.
No result

The No result state allows you to style the Loop when it has no items to display.
Disabled
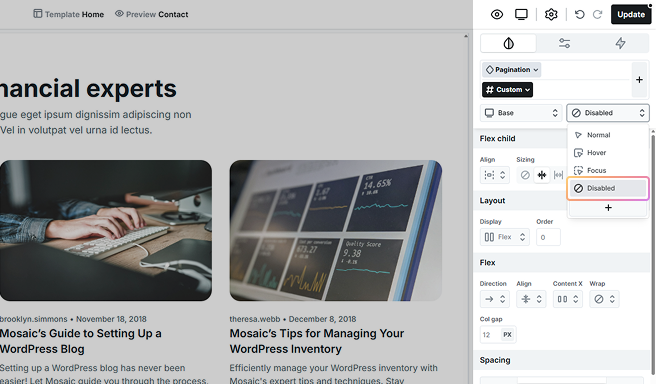
You can customize the pagination style when it’s marked as disabled in the Settings tab.
Pagination disabled

You can style both the pagination buttons and numbers, along with all their child elements, when pagination is marked as disabled.
Button disabled
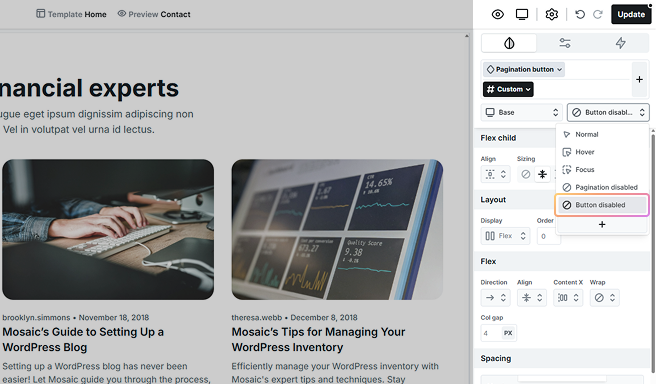
This will allow you to adjust the pagination buttons’ appearance even when they’re not active.
Active
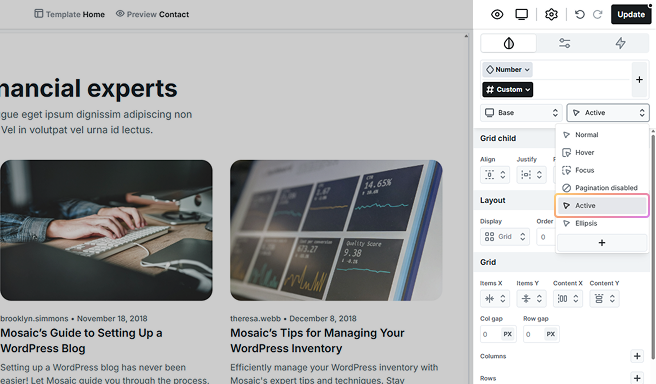
This state applies to your pagination number and highlights the current page being viewed. It’s typically styled differently to make it stand out from other page numbers, helping users easily identify their current position within the pagination sequence.
Ellipsis
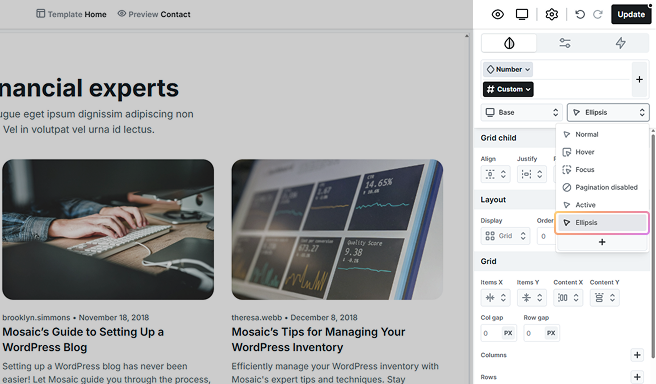
You can use an ellipsis for your pagination numbers when you have a lot of pages to display. You can style the ellipsis to indicate the presence of additional pages without cluttering the pagination with all the page numbers.
Elements using loop
You can use the Loop function with both the Slider and Tabs elements to make your content more dynamic.
For the Slider element, Loop slides let you pull in data automatically, keeping your content fresh. Just set up one slide as your template, and all the other slides will be created from it. For more details on sliders, check out the Slider documentation.
The tabs element works the same way. With loop tabs, you can also update your content automatically. Start with one tab as your template, and the rest will be generated from that. For more details on tabs, check out the Tabs documentation.
FAQ
Many elements and fields feature a dynamic data icon. Click on this icon to open a list of available data. From there, you can filter, choose, and insert the dynamic data you wish to use.