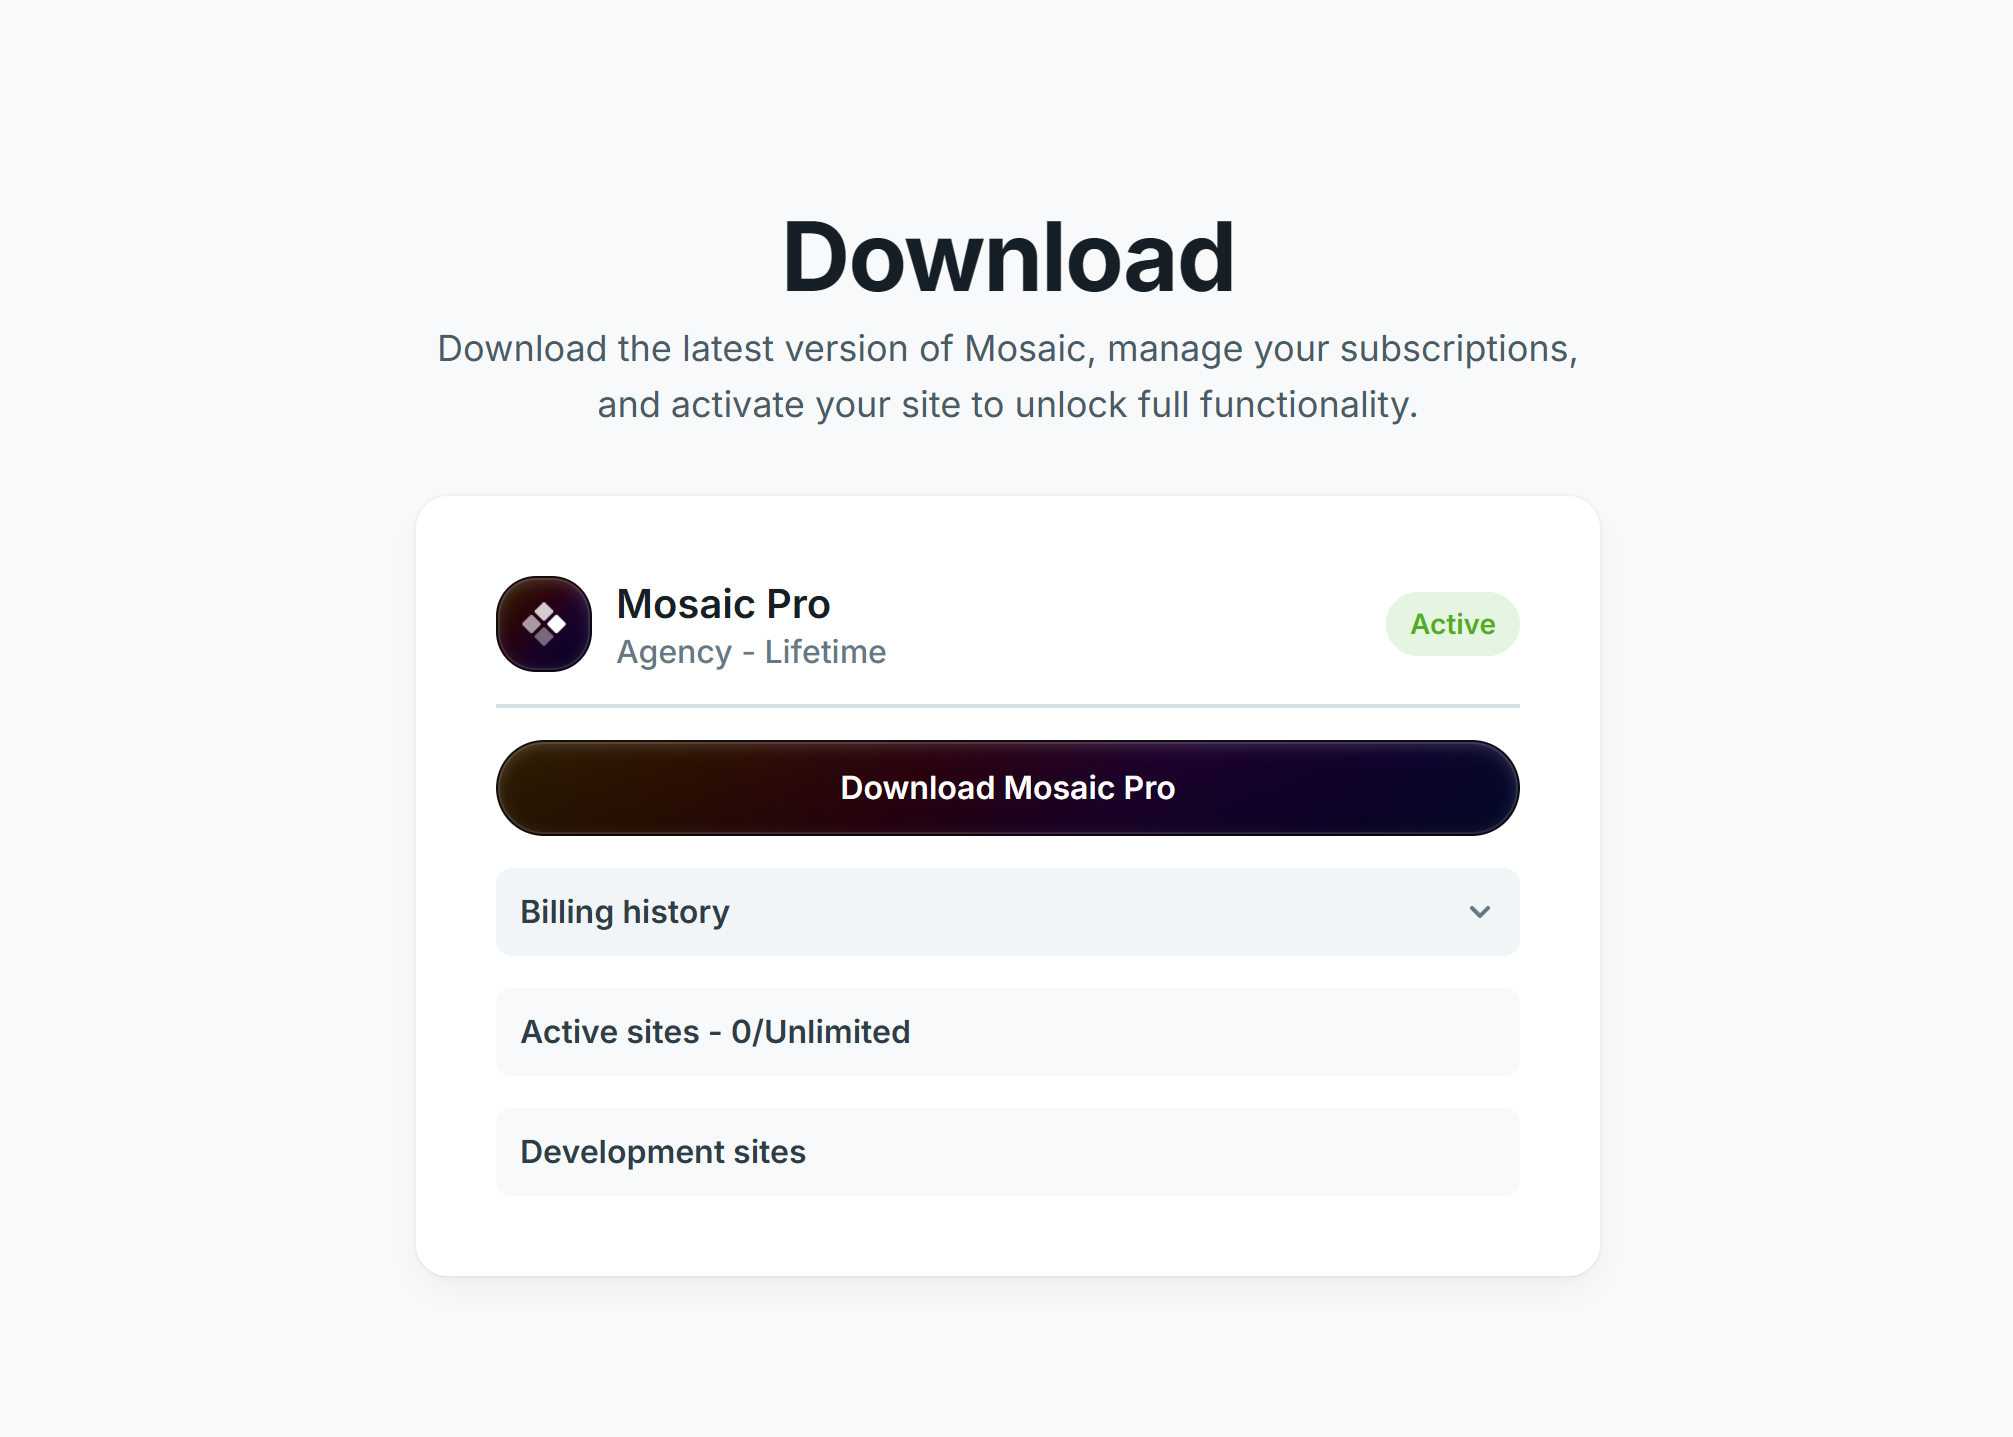
In Mosaic, installation starts with downloading a ZIP from your account and uploading it in WordPress. The free version needs no activation. Updates can be applied by uploading a newer ZIP, while your designs and settings remain intact.
Do you have the Beta version? Update this way!
Upload on the admin panel
Step 1
Download the Mosaic zip installer from our website.
Mac Safari often unzips zip files automatically. If you do not see a zip file being downloaded, rather an unzipped folder, that happens at you too. In this case you have the following choices:
1. Try to use a different browser for downloading the zipped installer, like Chrome should be fine.
2. From the downloaded folder, create a zip file on Mac using Finder:
– Locate the folder you want to compress.
– Right-click (or Control-click) on the folder.
– Select “Compress [folder name]” from the menu.
3. Upload the installer through FTP instead.
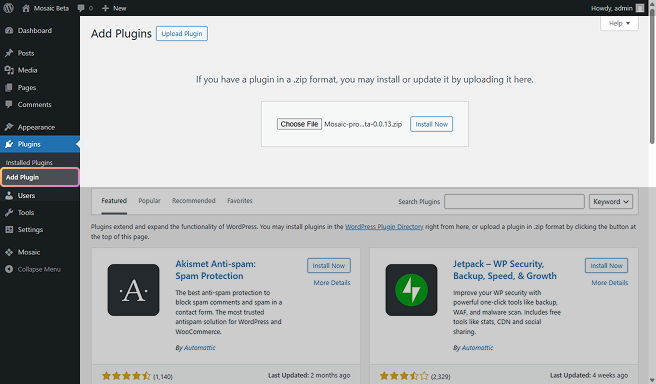
Step 2
Go to your Plugins → Add new → Upload Plugin and browse the zip file you just downloaded.
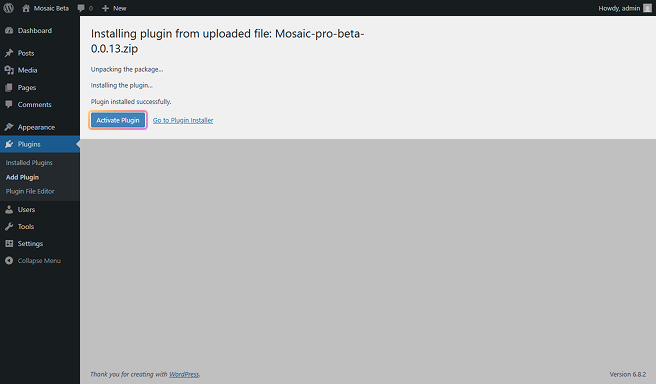
Step 3
Press Install Now, and if the installation was successful, click on Activate Plugin.
If you are getting an “The uploaded file exceeds the upload_max_filesize directive in php.ini.” message, follow the FTP installation method instead!
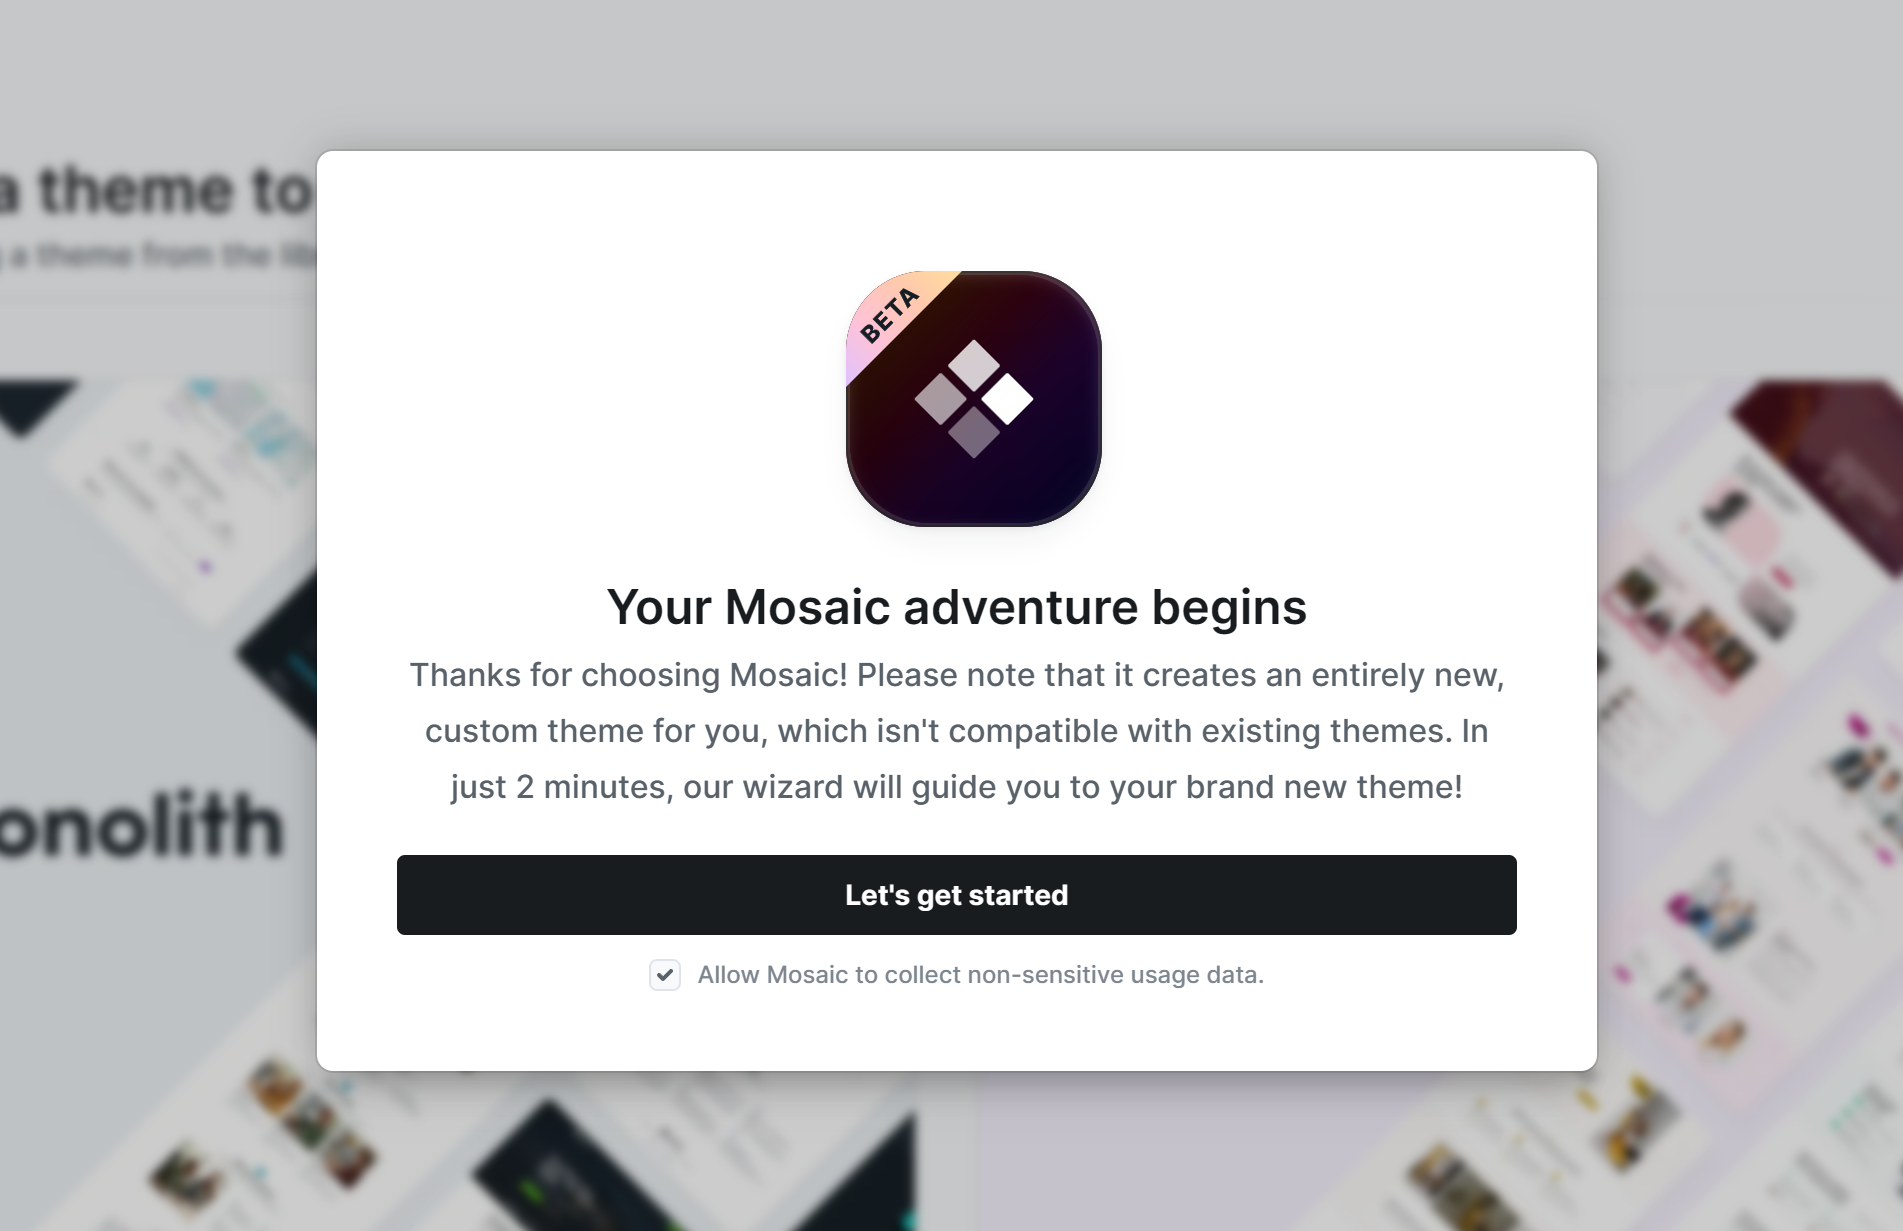
Step 4
Go through the Wizard. This is where you select the starting theme of your website with either Live or Test mode.
Step 5
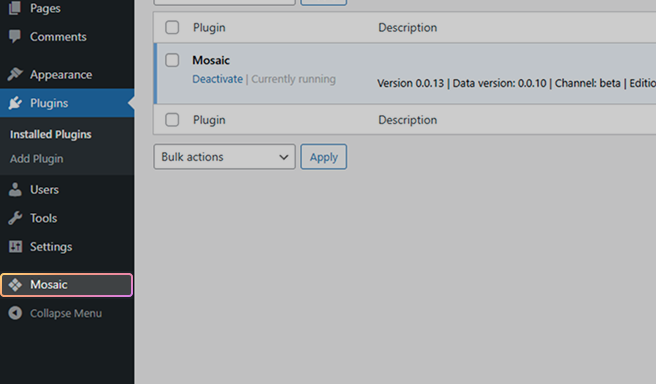
After you are done with the setup and go back to the WordPress admin area, you will see the Mosaic menupoint appearing in your left WordPress menu.
If the installation wasn’t successful, try out the Upload through FTP method instead.
Upload through FTP
Step 1
Download the Mosaic zip installer from our website.
Step 2
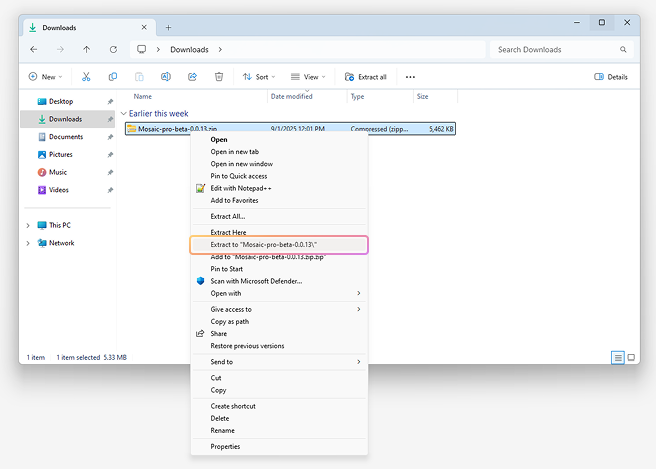
Unzip it into your computer. You’ll end up with a folder named Mosaic-pro-beta.
Step 3
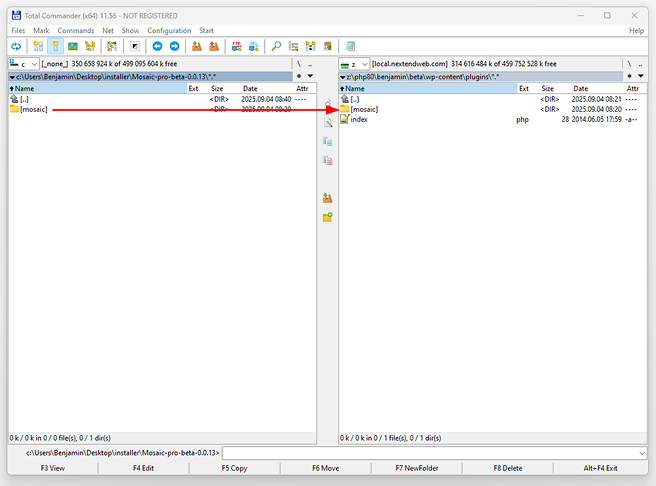
Go to your FTP, then upload the mosaic folder to your website’s wp-content\plugins\ folder.
You can use for example Filezilla for this process.
Step 4

Go to your admin area → Plugins, and you will see the Mosaic plugin in your list. Activate it which will start the Wizard to let you select the starting theme with either Live or Test mode. Then the Mosaic menupoint will appear in your left WordPress menu.
Installation errors
Process getting stuck
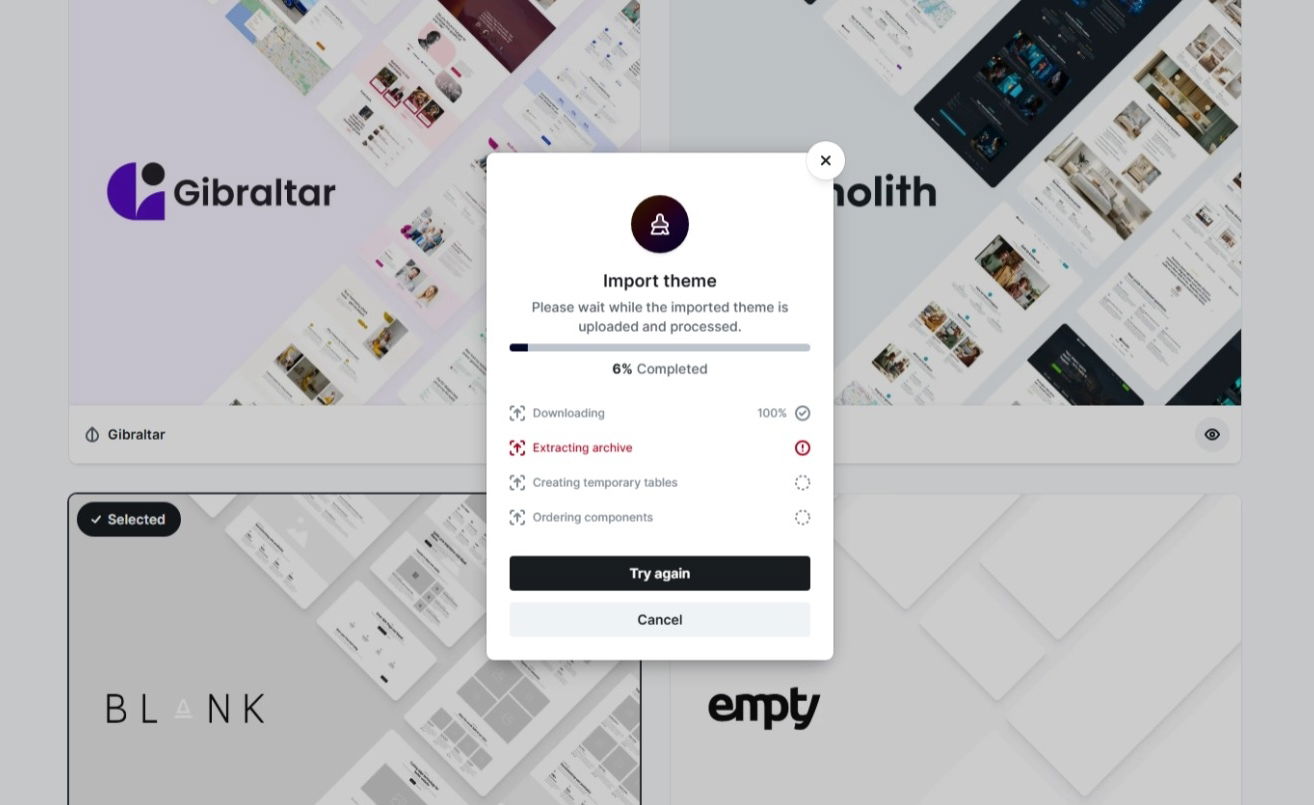
During installation you might see the process getting stuck at some point. At these cases follow this documentation to figure out the exact error.
Upload max filesize
There was an error loading this file to the server. The uploaded file exceeds the upload_max_filesize directive in php.ini.
If you can see an error message like this, when you are trying to install Mosaic, that means that your server has a low upload_max_filesize or post_max_size limitation. You should contact your server host and ask them to raise these server values for you!
An alternative could be the FTP installation method, but a low upload file size limitation can cause many issues in the future too, so we rather suggest getting this resolved with your server host.
Clean install / Uninstall
Sometimes you may want to completely reset Mosaic, for example, after testing features on your site and deciding to start fresh.
In the WordPress Plugins list, Mosaic includes a dedicated Uninstall option. Unlike simply deactivating or deleting the plugin, this option removes all Mosaic-specific data from your site, by deleting Mosaic database tables.
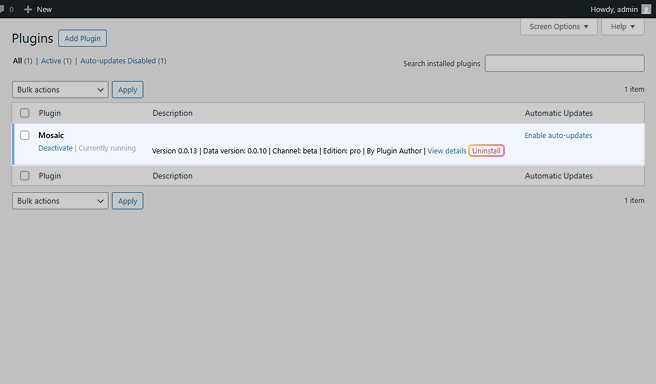
This action is permanent and cannot be undone. Once you uninstall, all Mosaic data will be erased from your site.
Update
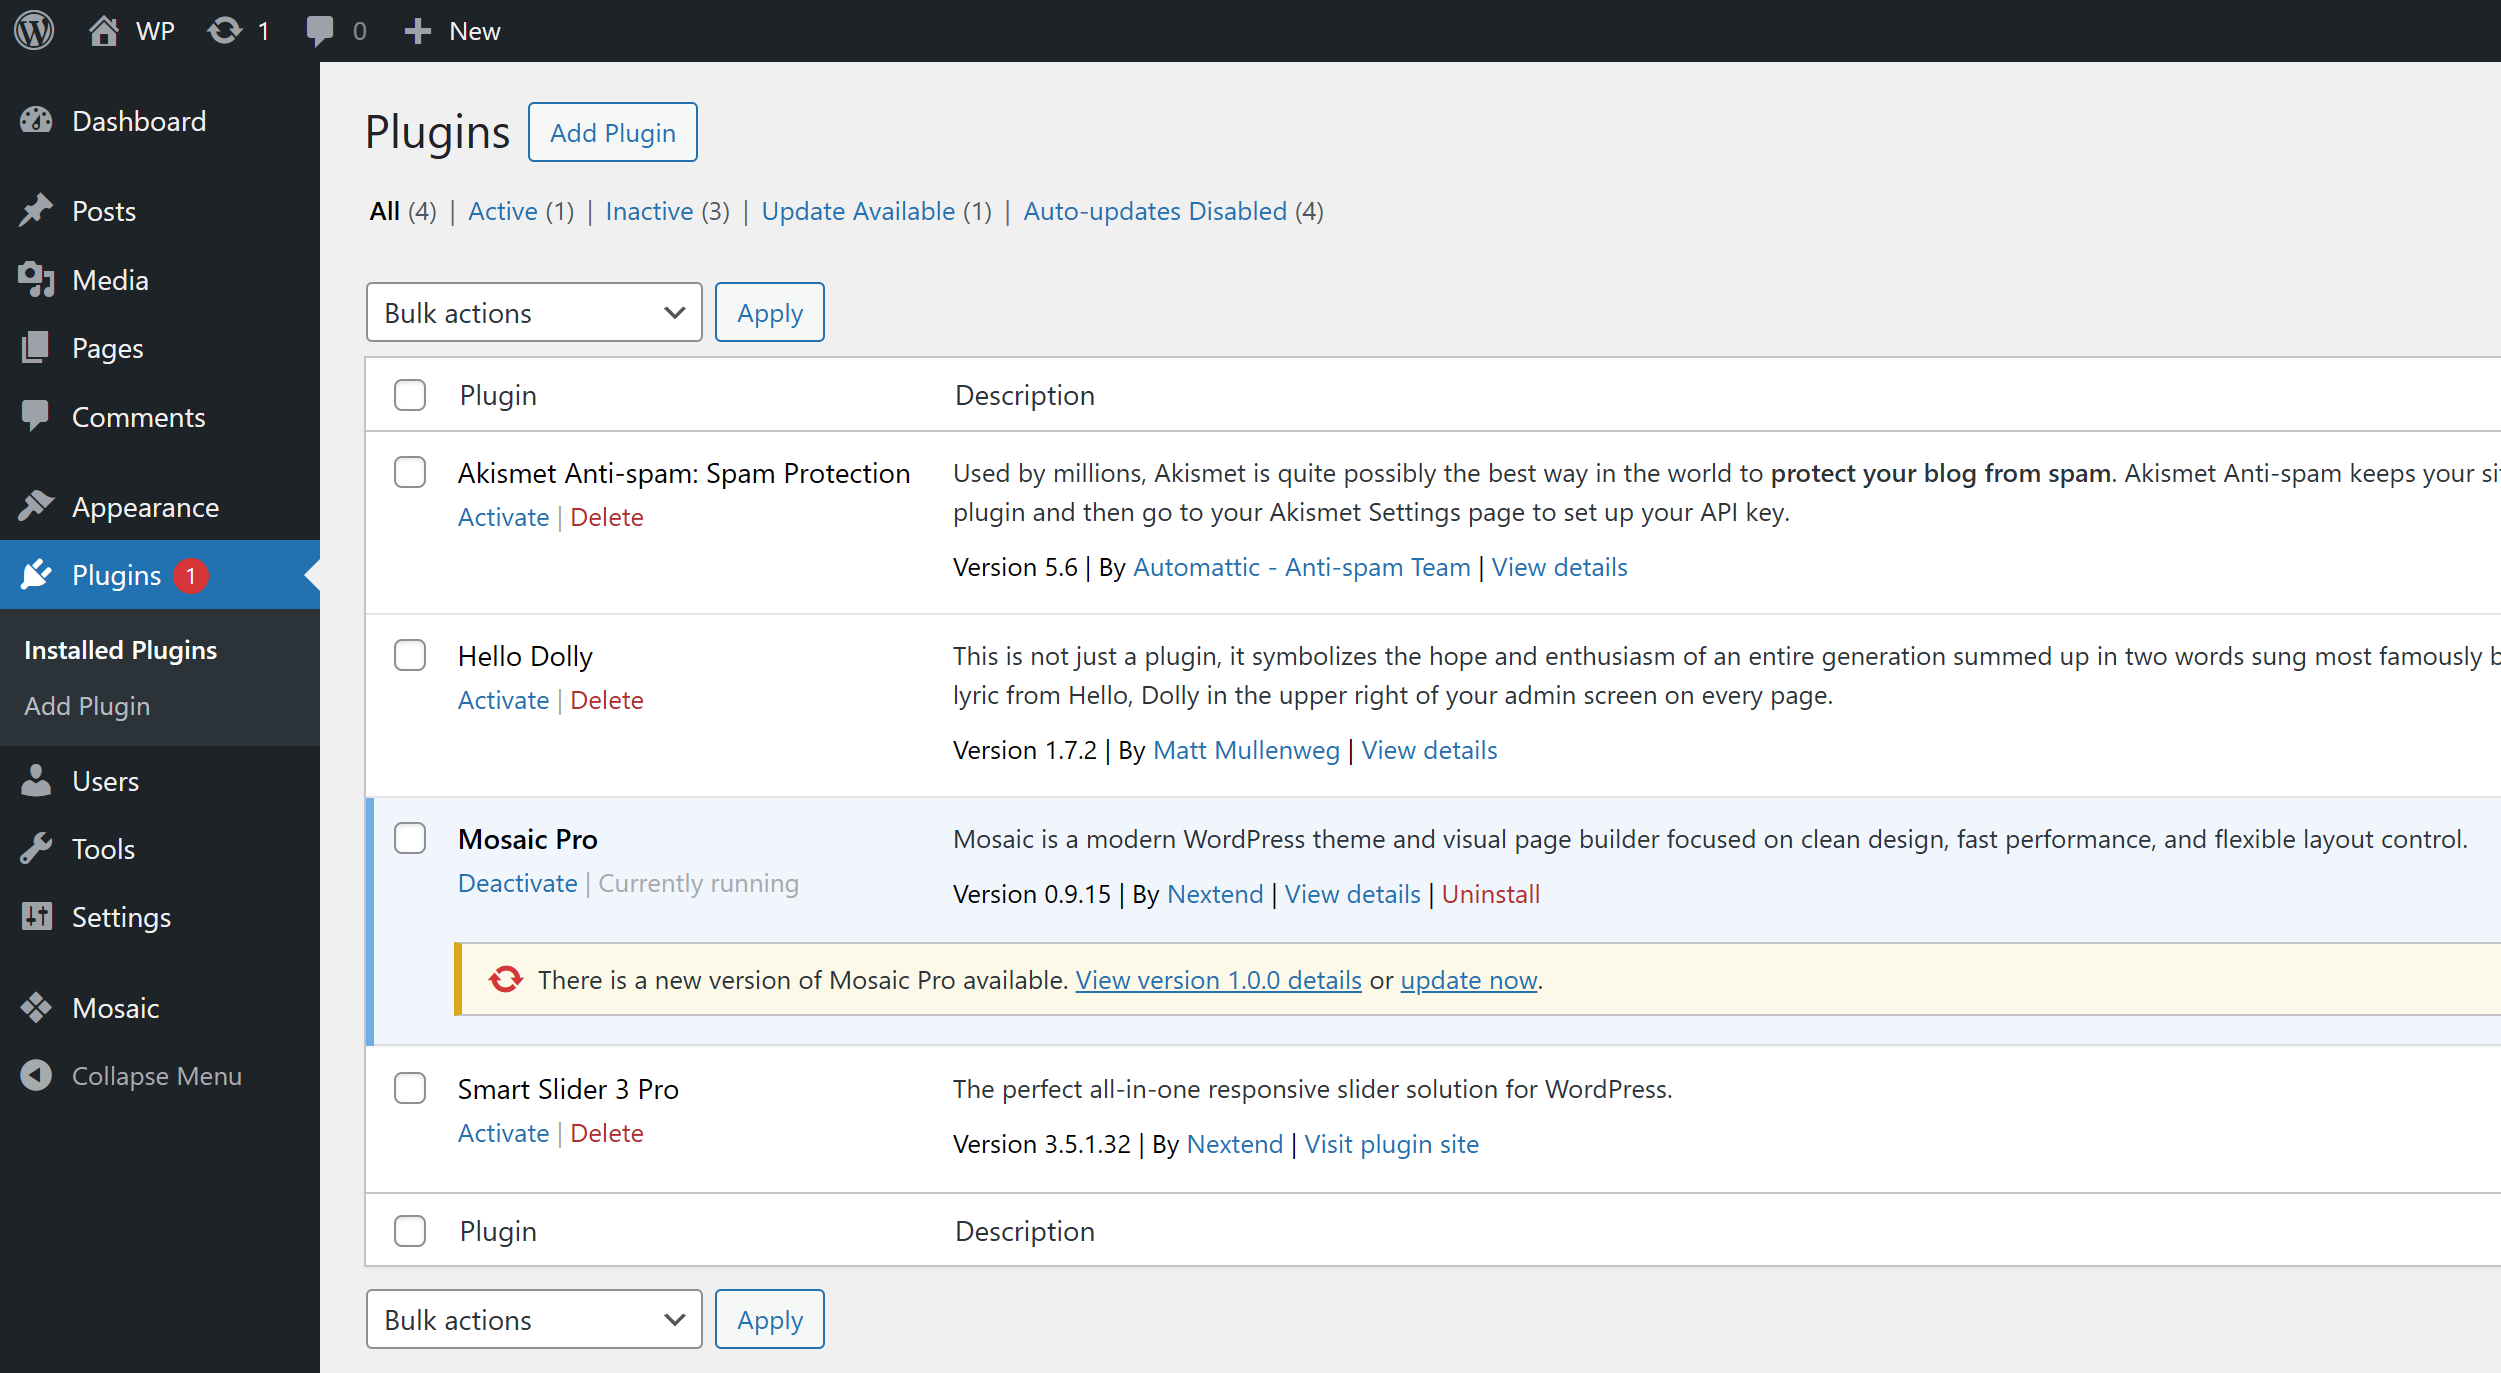
You can update Mosaic from your WordPress Dashboard → Updates, or from the Plugins list.
If it doesn’t work, follow the Alternative update method.
Updating or reinstalling Mosaic won’t overwrite your theme or any of your existing work — everything will remain intact.
After you updated Mosaic make sure you clear all cache on your website to avoid problems.
Alternative update
After you updated Mosaic make sure you clear all cache on your website (plugin or server cache) to avoid problems.
Beta version update
If you had the Beta version on your website, then you will be able to update it to the Stable version, from your WordPress Dashboard → Updates, or from the Plugins list.

You can also just install the Stable version into your website, it will overwrite the Beta version.
With either method, the theme you had and all your work will remain. But you should note, that we upgraded our themes, so you might want to consider starting over with a new theme.
Mosaic’s system should ask for your license automatically, when it is needed, but if you don’t see that happening, go to your WordPress left admin menu -> Mosaic -> Help -> at the License section, add your current Stable version license to Mosaic.
Replace package
From the admin panel
If you’re using WordPress 5.5 or newer, simply install Mosaic again from the admin panel.
At the installation you should just press the Replace current with uploaded button. Your themes will stay, so you don’t have to worry about them!
From FTP
Connect to your FTP and delete the folder of Mosaic:
- \wp-content\plugins\mosaic\
Then install Mosaic again via FTP.
Reinstall
Step 1
Go to your Plugins list and deactivate and delete your current Mosaic installation. Don’t worry, your themes will stay!
If you would have a problem, where you don’t even see Mosaic on your Plugins list, you should delete its folder with everything in it from FTP. We suggest making a backup, to be sure you are deleting the correct folder. You can find Mosaic’s folder on the following location:
- \wp-content\plugins\mosaic\
Step 2
Install Mosaic again, either from the admin panel or via FTP.
Update errors
Unable to copy
Update Failed: The update cannot be installed because we will be unable to copy some files. This is usually due to inconsistent file permissions.
The problem on your server will be, that the files and folders have different permissions. You could try to change all permissions on your FTP (for example with Filezilla), but usually the real issue is, that the services are running under different owners. For example:
Ftp server runs with owner: xy Apache runs with owner: z
If you install new plugin with WordPress upload, the plugin’s files will have the owner ‘xy’ as Apache creates them. In this case you can update this plugin from WordPress.
Then you choose to upload a new plugin with FTP, you place the files into the right folder, but those files will be owned by “z” and when you try to update these files from WordPress, the Apache process with owner “xy” might not have permission to write “z”s files.
Solution
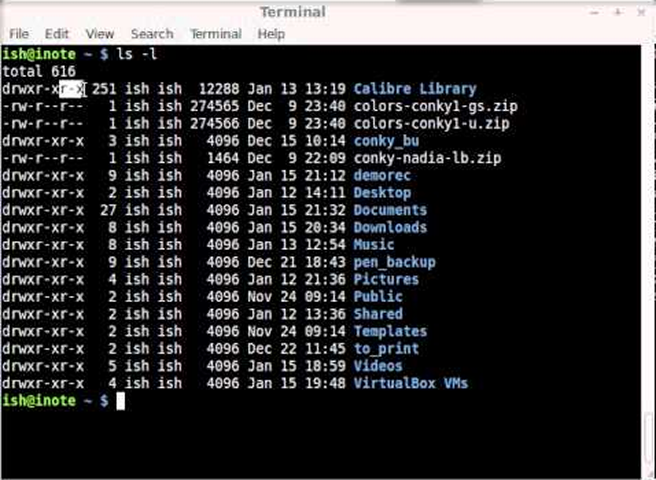
Send this to your server host: ls -lia . This will list out the files and folders from the current folder. On this image ish is the owner and ish is the group too:
When you know the owner and group, you could try to run the following command. It will recursively set the owner and the group for the files and folders of the current folder:
xy is the user and www is the group in this example:
chown -R xy:www ./
Then update permission on those files. This call is also recursive:
chmod -R 755 ./
Upload max filesize
There was an error loading this file to the server. The uploaded file exceeds the upload_max_filesize directive in php.ini.
If you can see an error message like this, when you are trying to update Mosaic, that means that your server has a low upload_max_filesize or post_max_size limitation. You should contact your server host and ask them to raise these server values for you!