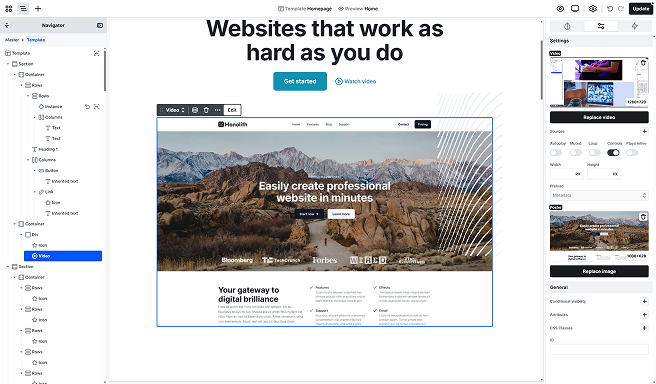
The video element allows you to embed self-hosted videos directly into your page using the browser’s native video player. It supports formats like MP4 and lets you display responsive videos from multiple sources.
To add a video, select a file from the media library. You can add or replace the video by double-clicking the element, using the toolbar’s Edit option, or accessing the settings in the Settings tab.
Settings tab
The Settings tab offers more control over how your video behaves and appears on the page. Here’s a breakdown of each option:
Video
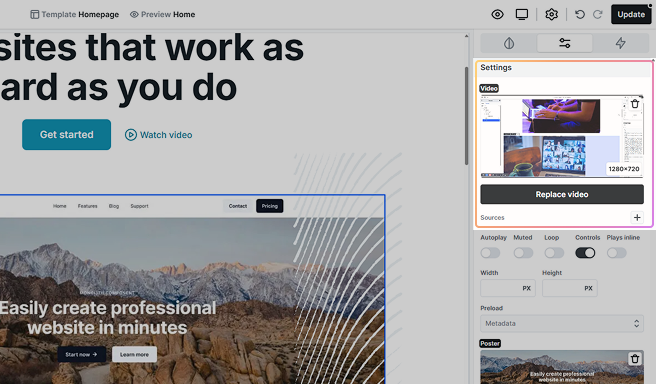
Displays the currently selected video. After uploading or selecting a video, you can replace or remove it as needed.
Sources
Add multiple video sources to improve compatibility and responsiveness across browsers and devices.
- Select video: Choose a file using the same method as the video setting.
- Mime type: Specifies the format of the video (e.g.: video/mp4).
- Media query: Optionally define when this source should be used, such as max-width: 600px for mobile devices.
Playback options
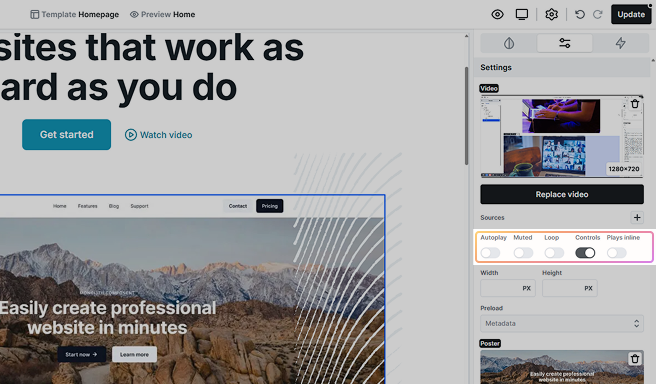
- Autoplay: If enabled, the video will attempt to play automatically when the page loads. Most browsers require ‘Muted’ to be turned on for autoplaying to happen. Learn the details.
- Muted: Silences the video by default. Required for autoplay to work on most browsers.
- Loop: Replays the video continuously after it ends.
- Controls: Choose whether to display built-in video player controls like play/pause, volume, and fullscreen.
- Plays inline: Keeps the video inside the page layout on mobile devices instead of launching full screen.
Width & Height
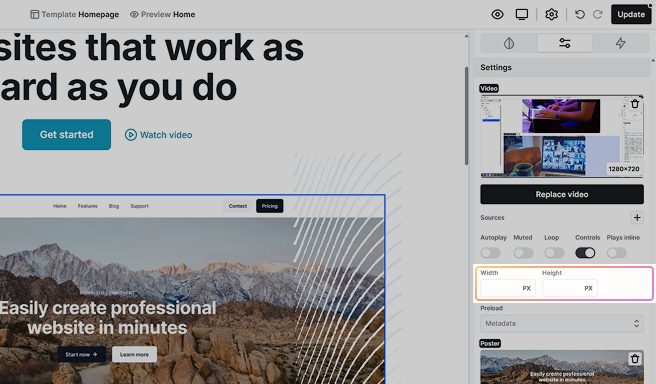
These parameters define the displayed size of your video element. You can manually set custom dimensions if you need a fixed width or height.
Preload
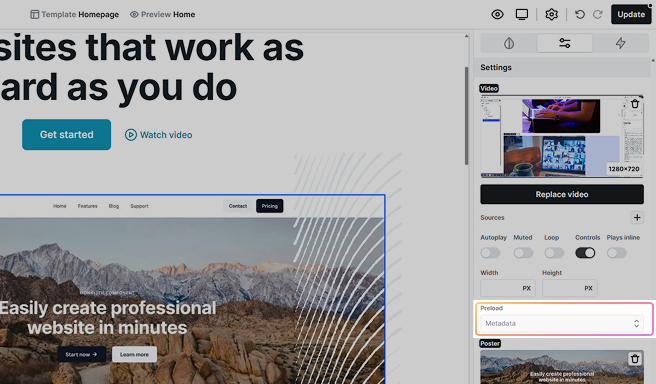
Controls how much of the video the browser fetches before playback.
- Auto: The browser may preload most or all of the video. Useful for short clips but can increase page weight.
- Metadata: Loads only info like duration and dimensions. Good balance for performance and a ready seek bar. (Recommended default.)
- None: Don’t load the video until the user interacts. Best for large files or bandwidth-sensitive pages.
Preload is a hint, browsers (especially on mobile) may override it based on network and battery conditions.
Poster
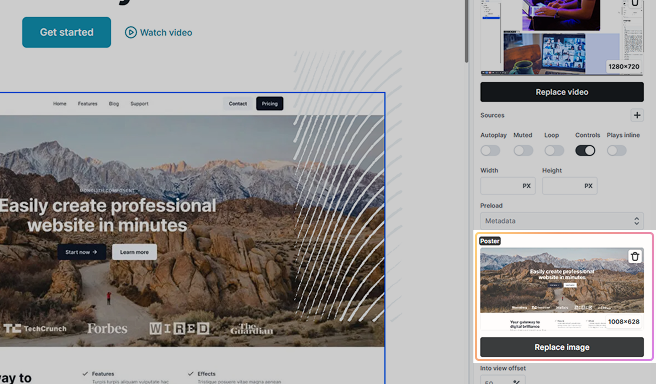
Select an image to show before the video starts playing. You can change or remove this preview image at any time.
Keep in mind that the poster image can increase the video’s size until playback begins, so to avoid layout shifts (CLS), it’s recommended to use an image that matches the video’s resolution.
Into view offset
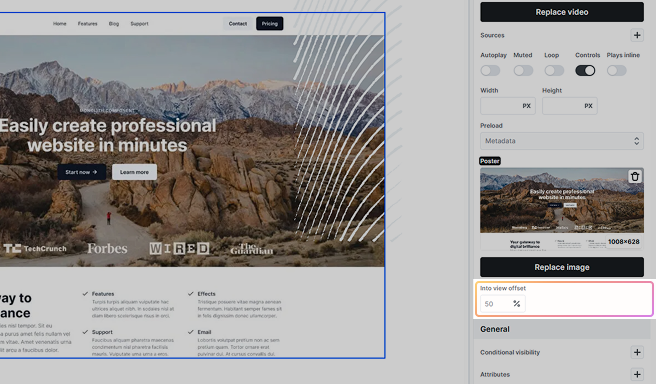
When a Video element is playing and scrolls out of view, it automatically pauses. Once the element is visible again, playback resumes.
The Into view offset setting determines what percentage of the element must be visible for playback to start or stop. For example, if set to 50, at least 50% of the video must be in view for it to play.
Background video
To create a background video on your page, follow this guide. It provides step-by-step instructions to set up the video correctly and ensure it displays as intended.
Step 1
Add a Section, Div, or any container variant (Grid, Column, Container, etc.) where you want the background video to appear.
Step 2
On the Style tab for the container element, set:
position: relative
z-index: 1
overflow: hidden
(This ensures the video stays behind the content, even if the container has a background color.)
Step 3
Place the Video element inside the container.
Step 4
For the Video element, set:
position: absolute
z-index: -1
top: 0 right: 0 bottom: 0 left: 0
width: 100% height: 100%
Step 5
In the Settings tab of the Video element, enable:
controls: off
loop: on
autoplay: on
muted: on (autoplay only works when the video is muted -> learn why)
The video will now cover the entire container, and you can place any other elements on top of it.
In case your video won’t autoplay, check the possible browser/operation system limitations.
FAQ
You can use FFmpeg to encode your videos correctly. In this example the original video format is mp4, but it could be a different file format too.
☝️ Note: FFmpeg is available for Mac as well. In this article we’ll cover the usage on Windows, but the FFmpeg commands are the same on Mac.
1. Download FFmpeg for Windows.
2. Unzip it to your computer, then enter its /bin folder. You should see a similar folder structure to this:C:/ffmpeg[build details]/bin/
3. Insert your original video into this bin folder and rename it to original.mp4:C:/ffmpeg[build details]/bin/original.mp4
4. Create a bat file in this folder. Let’s call it encode.bat:C:/ffmpeg[build details]/bin/encode.bat
5. You should write this code into the bat file:
ffmpeg -i original.mp4 -vcodec h264 -an -strict -2 new.mp4
6. Run the bat file. It should start running the code you entered. After it is done, a new.mp4 file should appear in your folder:C:/ffmpeg[build details]/bin/new.mp4
This is the new video, which can be played in most browsers.
☝️ Note: we do not support video encoding issues and questions! This documentation was made to try to help out, but any problem related to your video encoding has to be resolved by you!
Additional options
There are multiple options offered by FFmpeg to work with your videos.
Resizing the video
The following code resizes the video to 1920*1080px.
ffmpeg -i original.mp4 -vf scale=1920:1080 -vcodec h264 -an -strict -2 new.mp4
First 10 seconds
Cut out the first 10 seconds, next to this resizing ( -ss is the start, -t is the end time in seconds):
ffmpeg -ss 0 -i original.mp4 -vf scale=1920:1080 -t 10 -vcodec h264 -an -strict -2 new.mp4
Create an image from the first frame
ffmpeg -i original.mp4 -vf scale=1920:1080 -vframes 1 firstframe.jpg