A Master functions as a reusable parent layout, providing a consistent structure for multiple pages within a website. It typically includes elements like Headers, Footers, and Navigation menus that are common across the site. This parent layout ensures uniformity and coherence in the overall design, acting as a foundation for individual pages.
Each page incorporates this master layout and adds its unique content into a section known as the Template, which varies from page to page. This setup embodies the principle of inheritance in design, where pages inherit the common layout elements from the master layout, while also having the flexibility to define their own specific content.
The use of a master layout not only maintains design consistency but also enhances efficiency. Changes made to the master layout (like updating the header or footer) are automatically reflected across all pages that inherit from it. This approach is a staple in web development frameworks and content management systems, streamlining the process of managing and updating website designs.
Managing Masters
Masters can be accessed from the Left menu, under the Masters section. Upon entering, you will see a list of all your available Masters. This is where you can create a new one as well by following the provided options.
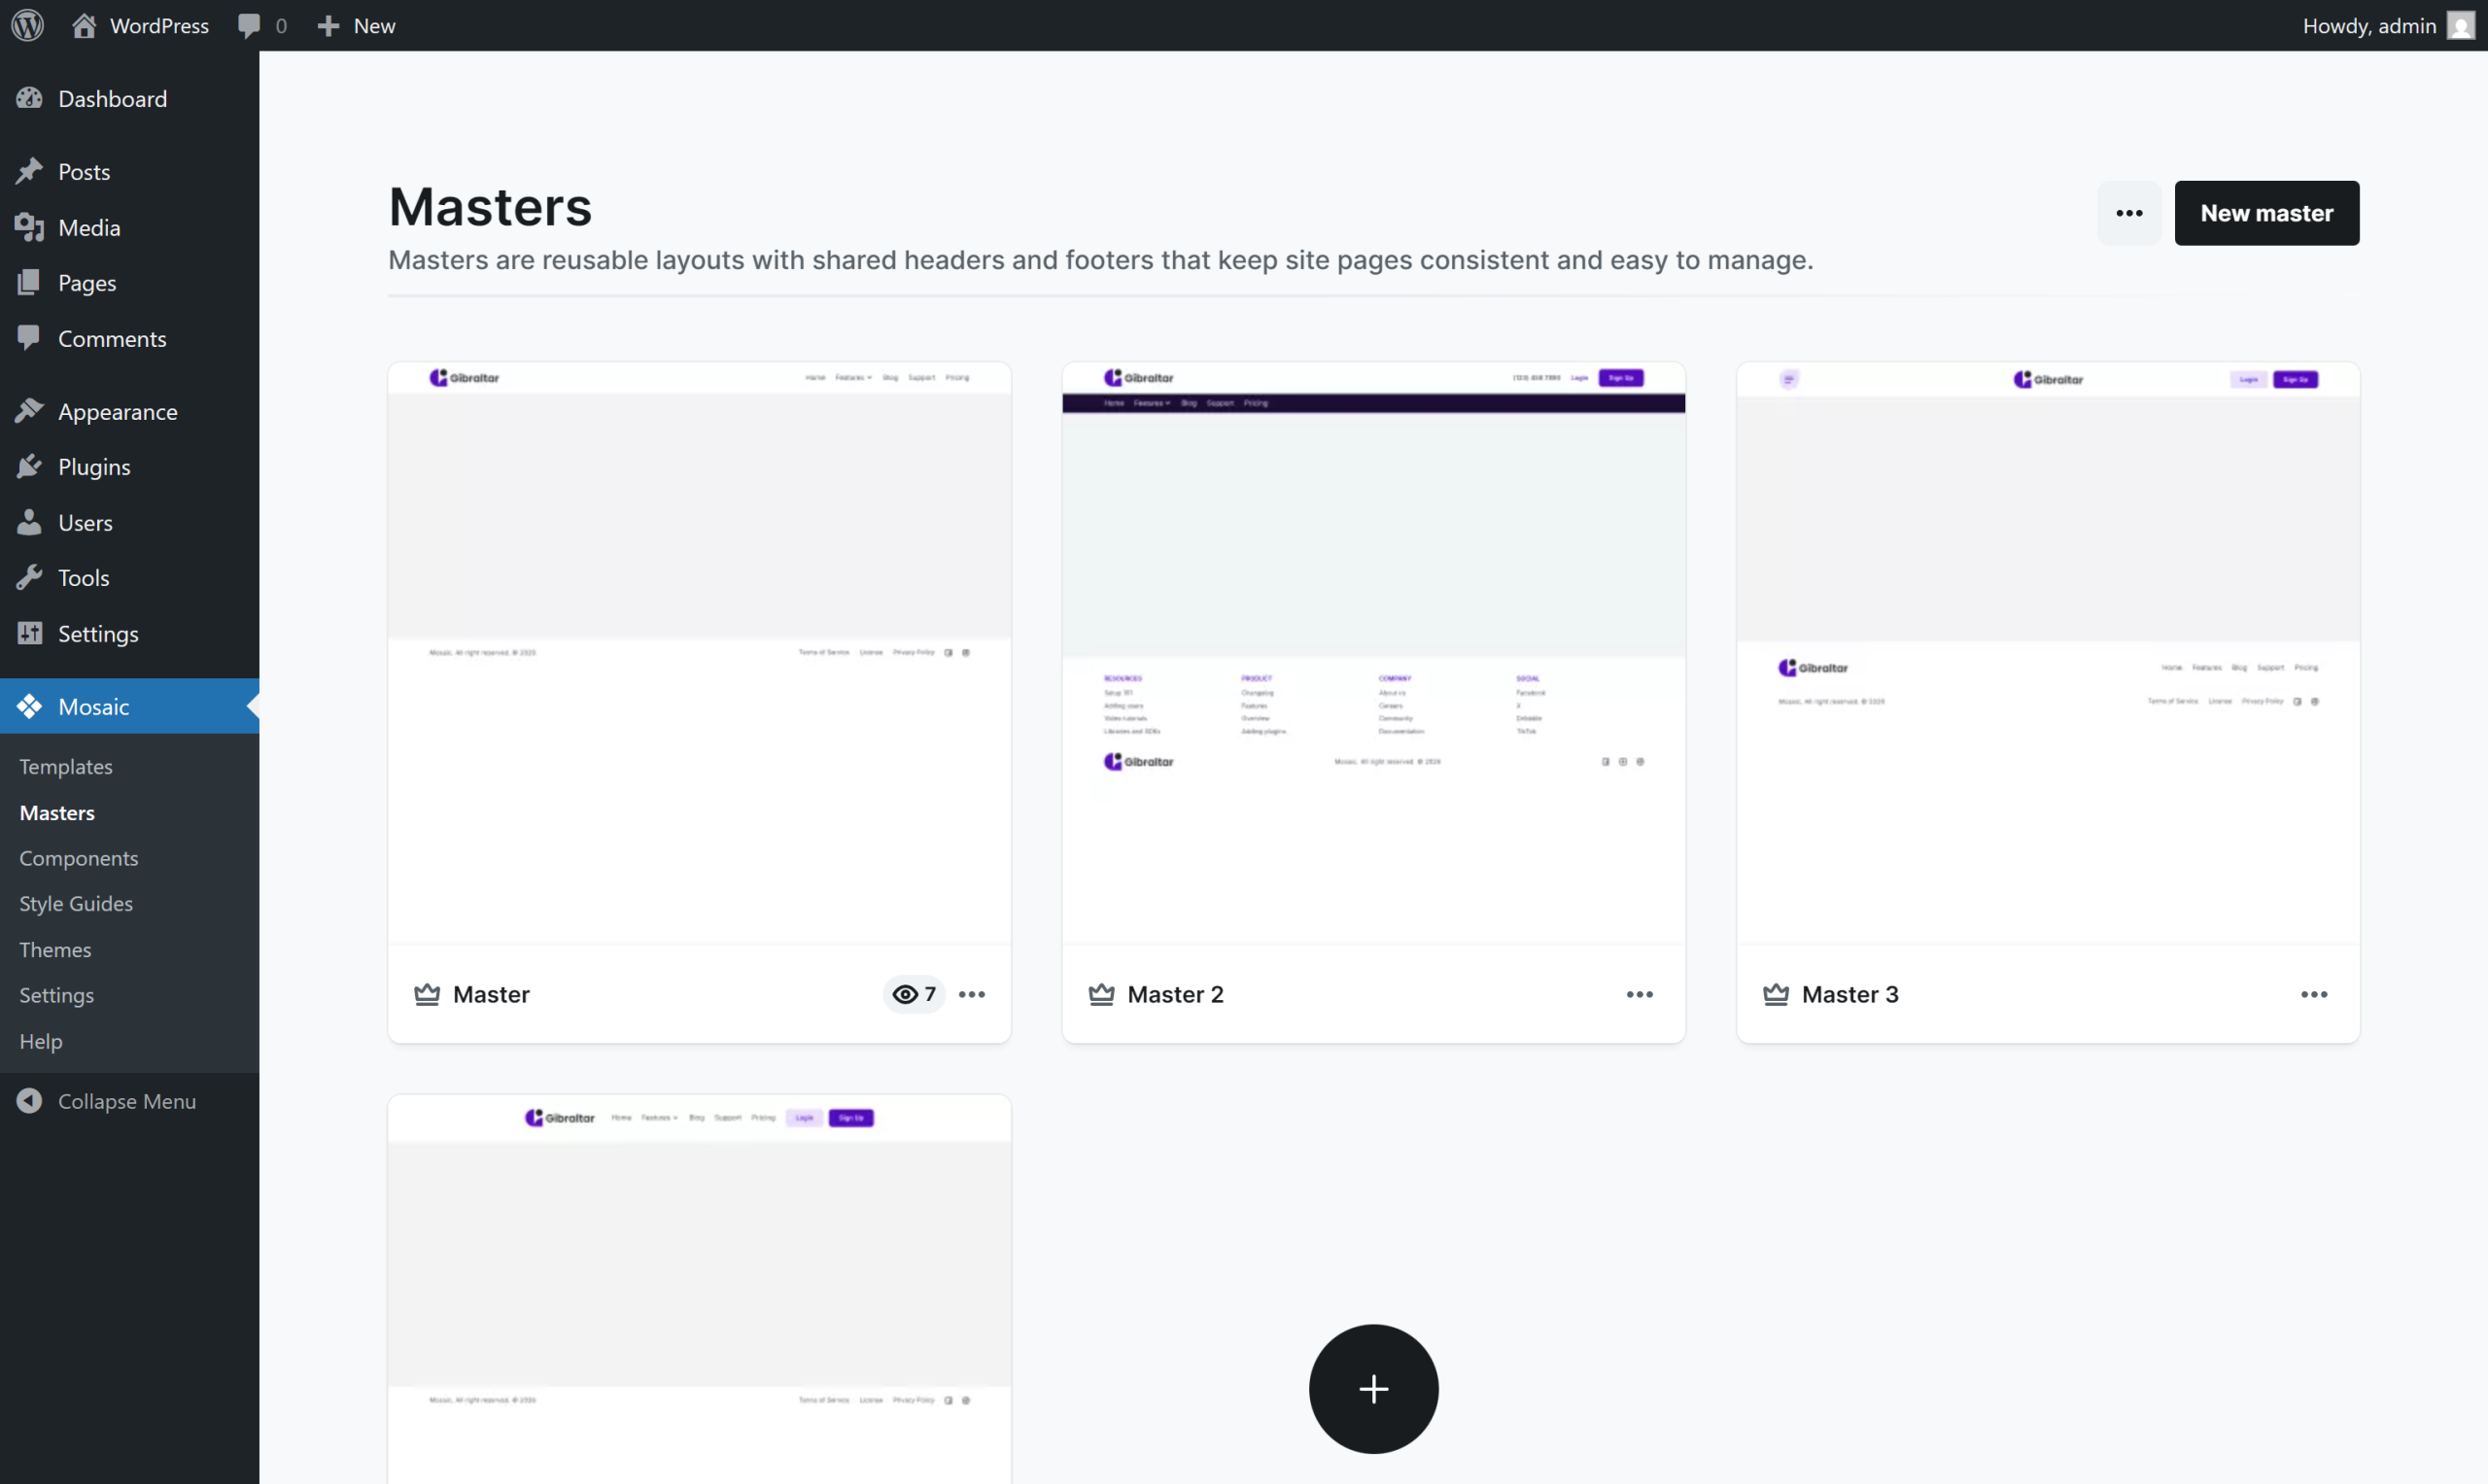
Its Context menu allows for various actions.

- Settings: You can rename your Master here. Simply enter the new name and save the changes.
- Duplicate: Use this to create a copy of an existing Master.
- Generate thumbnail: You can generate a small sneak peek of what is going on inside the Master, allowing you to view its content without the need to open it.
- Delete: Permanently delete a Master. Use this option with caution as deletion is irreversible.
Editing a Master
Upon entering a Master, you will be welcomed by our Editor, the designated workspace where you will tailor the Master to your preferences. If you are unfamiliar with the Editor, check out our detailed documentation, as it is crucial to have a solid grasp of how the Editor works.
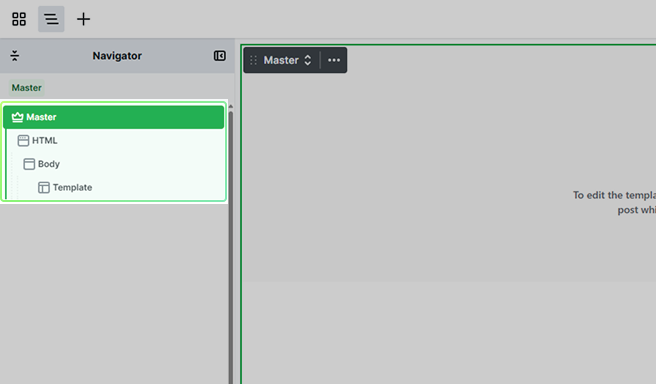
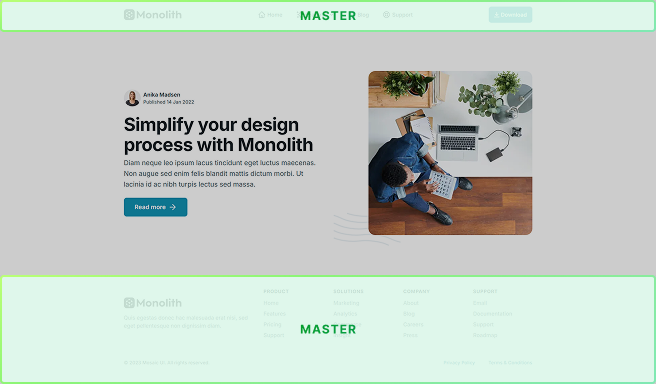
You can recognize when you are editing a Master by the green highlight color used in its scope. By default it holds the HTML, Body, and Template elements, which you can see in the Navigator’s hierarchy.
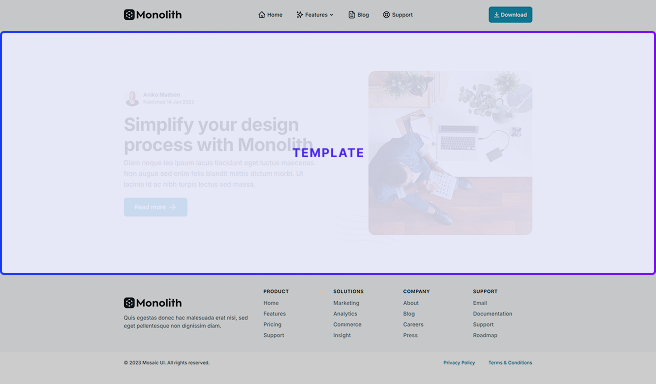
You can add new elements to the Body element besides the Template, but editing the Template is only possible if you enter its scope, which can be done by double-clicking the Template element.

If you’ve added the elements you want, and your Master is ready to go, make sure it’s assigned to a Template.
For existing templates
If you’ve already got a template and want to add your Master to it, head to its Template settings in the Template list and select your Master.
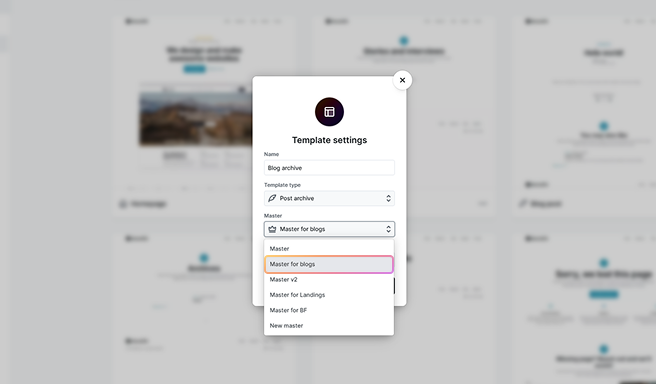
For new templates
If you’re starting fresh and creating a new template, you’ll have the chance to pick and assign your Master right away.

The first Master in the list is selected by default, but you can drag and drop to reorder Masters and change the default.
Enter Master’s scope
Switching between editing the Template and the Master is a straightforward process. You can enter the Master’s scope using the following methods:
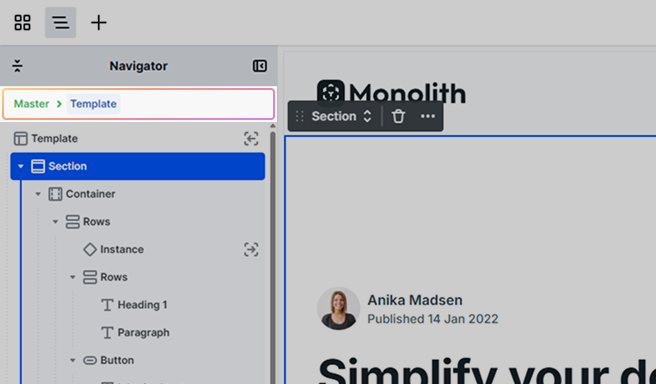
1. Using the Navigator
- Select the Master from the top of the Navigator.
2. Using the Canvas
- Double-click the Master.
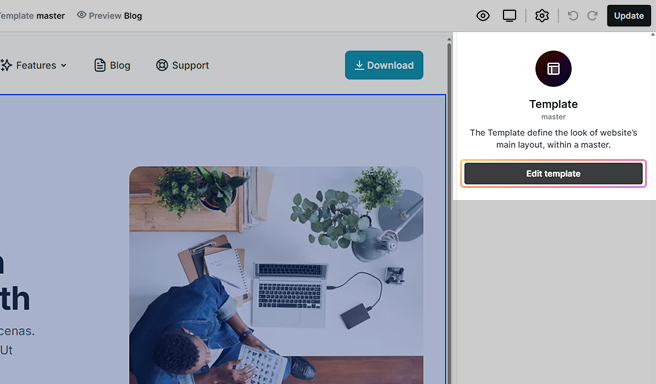
- Click on the Master, then select Edit from its toolbar actions.
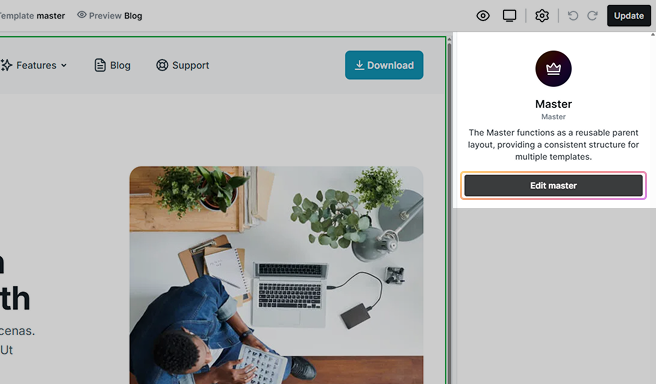
- Click on the Master, then select the Edit master option in the right sidebar.
Return to Template
To switch back to the Template, you can follow similar steps.
Use the Navigator or Canvas
- Double-click the Template.
- Click on the Template and select Edit from its Toolbar actions.
- Click on the Template and select the Edit template option in the right sidebar.