Moving a WordPress site that uses Mosaic to a new server comes down to copying two things — your database and your files — and then telling WordPress where they now live. This guide walks through every step from the ground up, so you can follow it even if you are a novice.
Before you start: back everything up
If anything goes wrong during the move, a backup is how you get back to a working site. On the old server, save:
- Your database (you’ll export it in Step 1 anyway).
- Your files — at minimum the
wp-contentfolder, but the safest option is the entire WordPress folder.
Don’t start the move until you have a backup you can rely on.
Step 1: Export and import your database
All of your site’s content — posts, pages, settings, and Mosaic’s design data — lives in the database.
Export from the old server
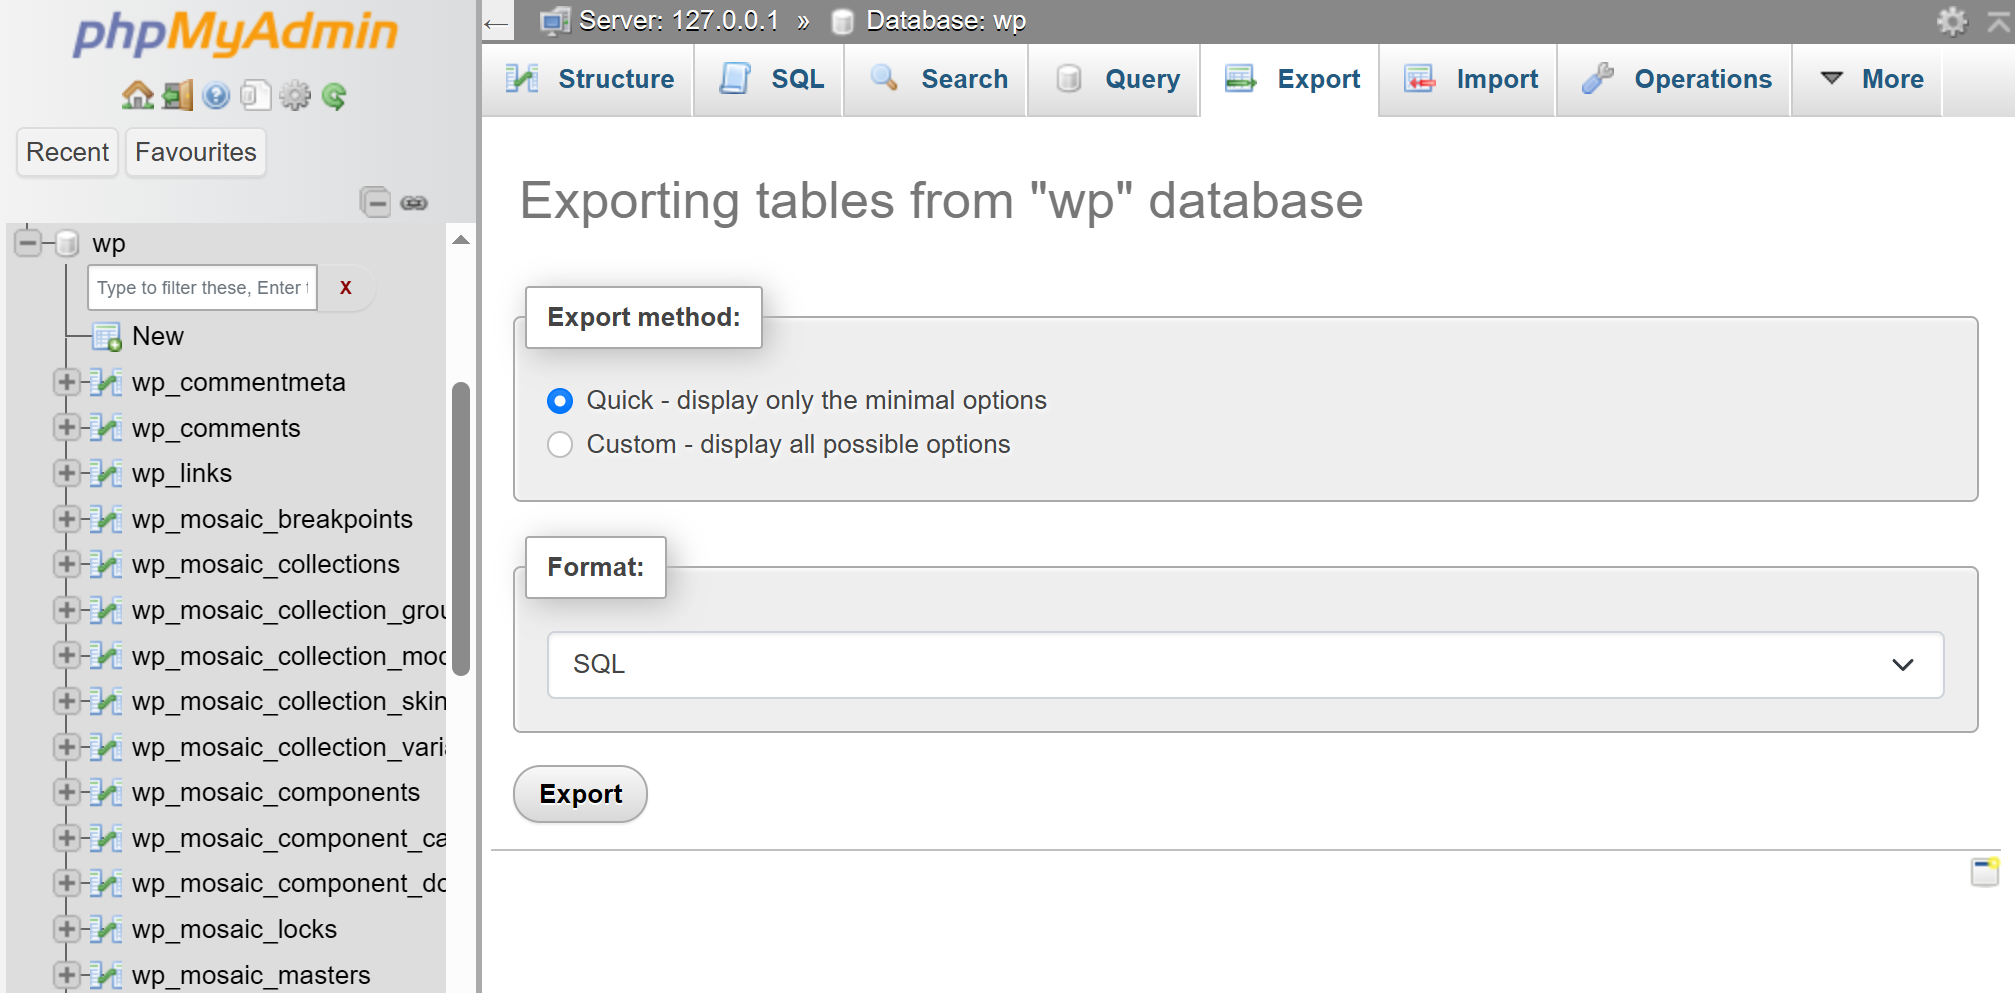
- Log in to your hosting control panel and open phpMyAdmin (most hosts include it). If you can’t find it, ask your hosting provider where to access it.
- In the left-hand list, select your site’s database. (Not sure which one? The
DB_NAMEline in yourwp-config.phpfile tells you its name.) - Click the Export tab at the top.
- Choose the Quick method and the SQL format, then click Export or Go. An
.sqlfile downloads — that’s your whole database.
Import on the new server
- In the new host’s phpMyAdmin, create a new, empty database (unless your host already created one for you). Write down its name, its database username, its password, and the database host — you’ll need these in Step 3.
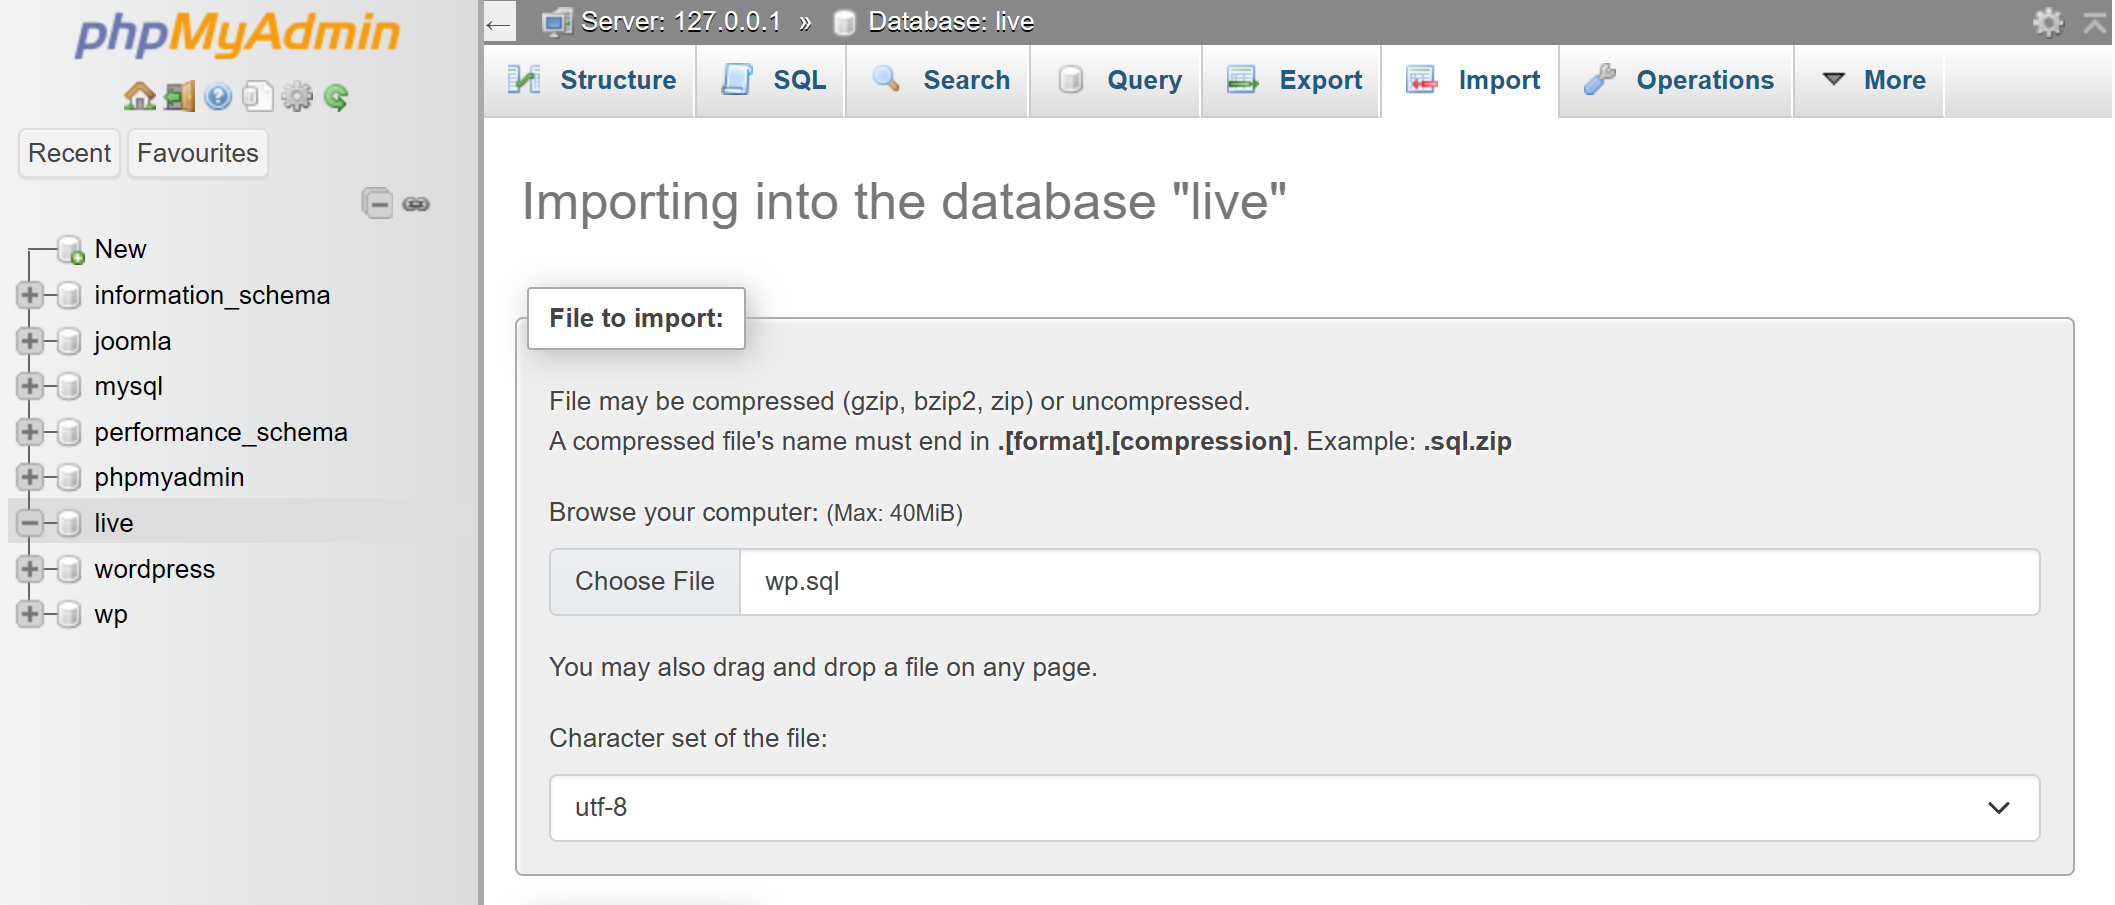
- Select that new, empty database in the left-hand list.
- Click the Import tab, choose the
.sqlfile you just downloaded, then click Import or Go.
If your database is large and the import stops with a file-size error, ask your hosting provider for help — they have tools for importing bigger databases.
Step 2: Move your files with FTP
Your images, uploads, plugins (including Mosaic), and WordPress itself are all files. The simplest way to copy them across is with FTP.
- Download a free FTP program — we recommend FileZilla.
- Connect to your old server. You’ll need your FTP details: Host, Username, Password, and sometimes a Port.
- Find your WordPress folder on the old server (it’s often named
public_html,www, orhtdocs) and download its entire contents to your computer. - Connect to your new server the same way, and upload the files into the new WordPress folder.
Don’t know your FTP details? Contact your hosting provider — they can give them to you or set up an FTP account for you.
The upload can take a while, especially if you have a lot of images. Let it finish — don’t interrupt it.
Step 3: Point wp-config.php at the new server
This file tells WordPress which database to connect to. You’ll find wp-config.php in the root of your WordPress folder. Open it for editing over FTP.
a) Database connection
Find these lines and update them with the new details you wrote down in Step 1:
define( 'DB_NAME', '...' );     // your new database name
define( 'DB_USER', '...' );     // your new database user
define( 'DB_PASSWORD', '...' ); // that user's password
define( 'DB_HOST', '...' );     // often 'localhost', but not always
If these don’t match, your site won’t load at all (you’ll usually see an “Error establishing a database connection” message). Your host can confirm the correct DB_HOST value if you’re unsure.
b) Set the site URL for the new domain (temporary)
Add these two lines to wp-config.php (or update them if they already exist), using your new domain:
define( 'WP_HOME', 'https://new-domain.com' );
define( 'WP_SITEURL', 'https://new-domain.com' );
Also update any other define() line that contains your old domain, then save the file.
Why this is needed: after the import, the database still points to your old domain, so WordPress would keep redirecting the new site — and its admin — back to it, and you couldn’t log in to finish the move. These two constants override that (and temporarily grey out the Settings → General URL fields). You’ll remove them again in Step 4.
Step 4: Update your site URL
Your old domain is still stored throughout the database — in posts, in settings, and in Mosaic’s design data (image links, for example). The constants you added in Step 3b only override WordPress’s main address; these stored copies still need to be replaced with the new domain.
a) Replace the old URL in the database
Some value is stored as “serialized” data, which breaks with a plain find-and-replace process, so you should rather use a tool made for the job. You can log in to the new site’s admin now, because of the URL you set in Step 3b.
- Install the free Better Search Replace plugin (WordPress admin → Plugins → Add New).
- Run a replacement from your old domain (
https://old-domain.com) to your new domain (https://new-domain.com). - Run it as a “dry run” first to see how many matches it finds, then run it for real.
Don’t run a manual SQL REPLACE across the whole database — it can corrupt serialized data. Always use a tool that handles serialization.
b) Remove the temporary constants
Now that the database itself points to the new domain, open wp-config.php again and delete the two lines you added in Step 3b:
define( 'WP_HOME', 'https://new-domain.com' );
define( 'WP_SITEURL', 'https://new-domain.com' );
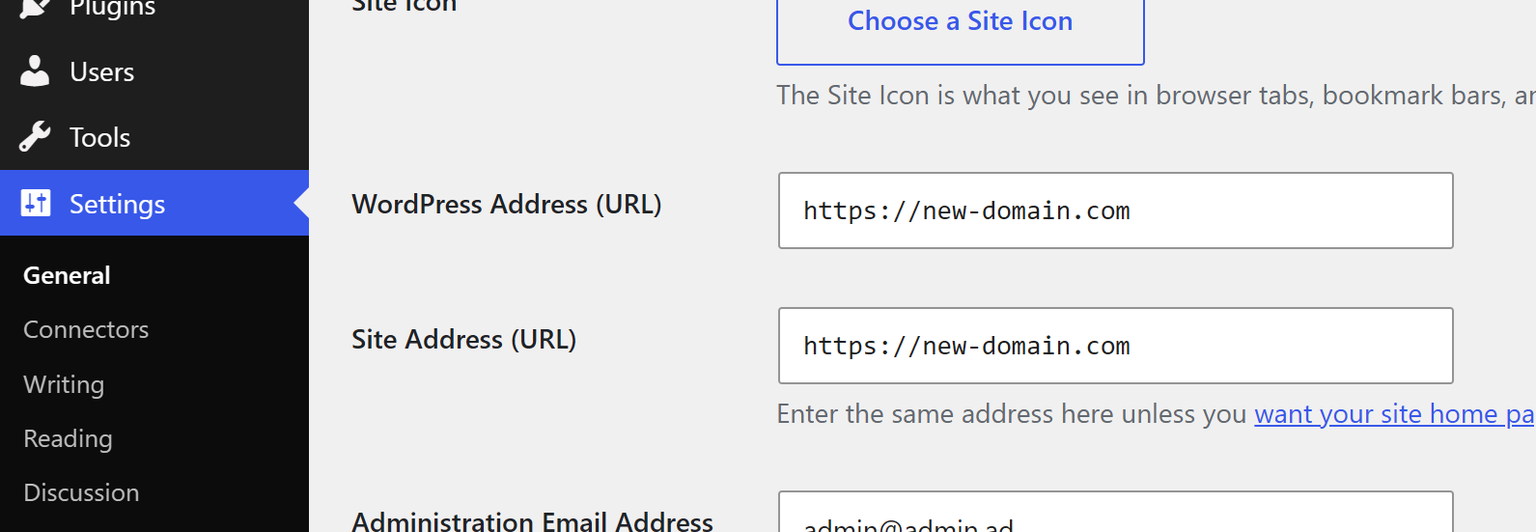
Save the file. The search-replace in the previous step already updated the WordPress Address and Site Address under Settings → General to your new domain, so your site stays there — and removing these lines re-enables those fields in case you ever need them.
Step 5: Check your plugins
There’s nothing to clear on Mosaic’s side. Mosaic’s cache doesn’t store your domain, so it stays correct on its own after a move — you don’t need to clear anything for Mosaic.
Your other plugins are a different story. Any plugin you use alongside Mosaic may store or cache things of its own (caching, security, or CDN plugins, for example), so after the move:
- Check each plugin’s own documentation to see whether it recommends any special steps when migrating.
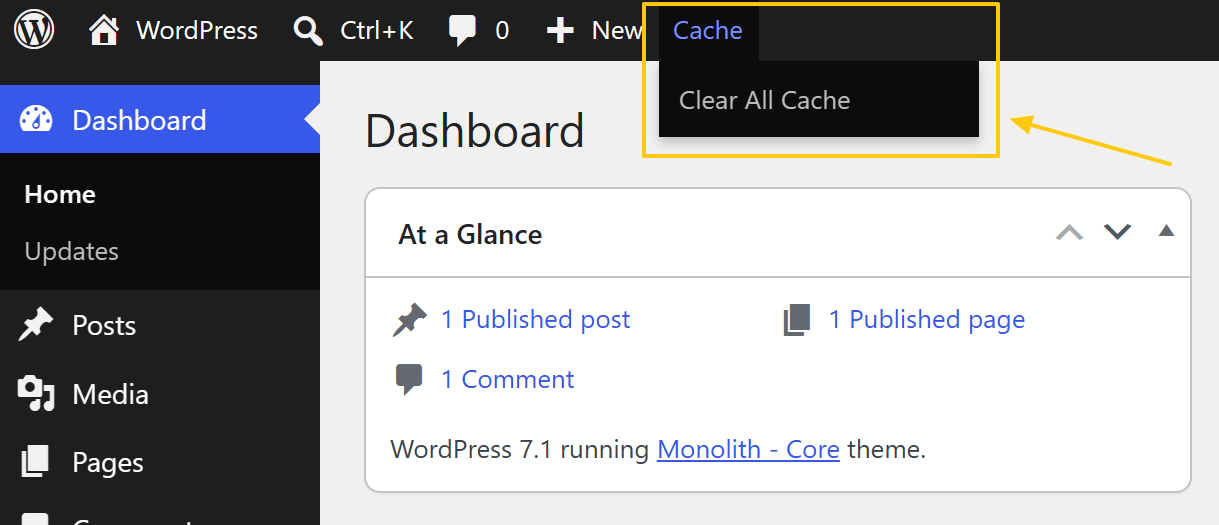
- If you use a caching or optimization plugin, clear its cache too.
Step 6: Test the site
- Load the homepage and a few other pages.
- Check that the parts you built with Mosaic display correctly and that images load.
- Log in to the admin and confirm the Mosaic editor opens as expected.
If something looks off — broken images or layout — the most common cause is a skipped URL replacement (Step 4). If you use a caching plugin, clearing its cache (Step 5) is the next thing to check.
Step 7: Reactivate your Mosaic license
As your Mosaic license is tied to a domain, you’ll need to deactivate the old domain and activate the new one.
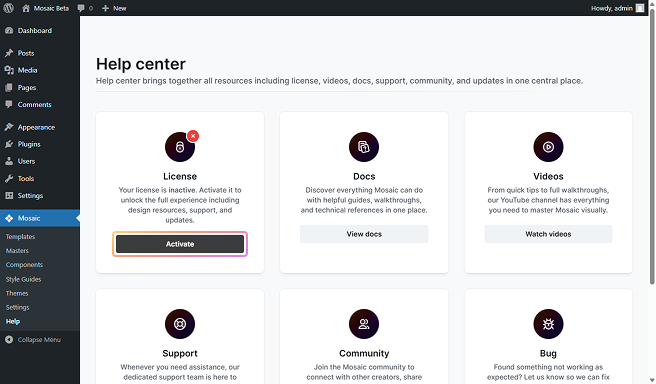
- At the new domain, in your left WordPress admin menu, go to Mosaic → Help. In the License box, click Deactivate (how to deactivate).
- Only if your old site was not on a whitelisted dev domain: you’ll also need to deactivate the license for the old domain in your Mosaic account (how to deactivate a domain).
- Back in Mosaic → Help, use the Activation box to click Activate (how to activate) and activate your license on the new domain.